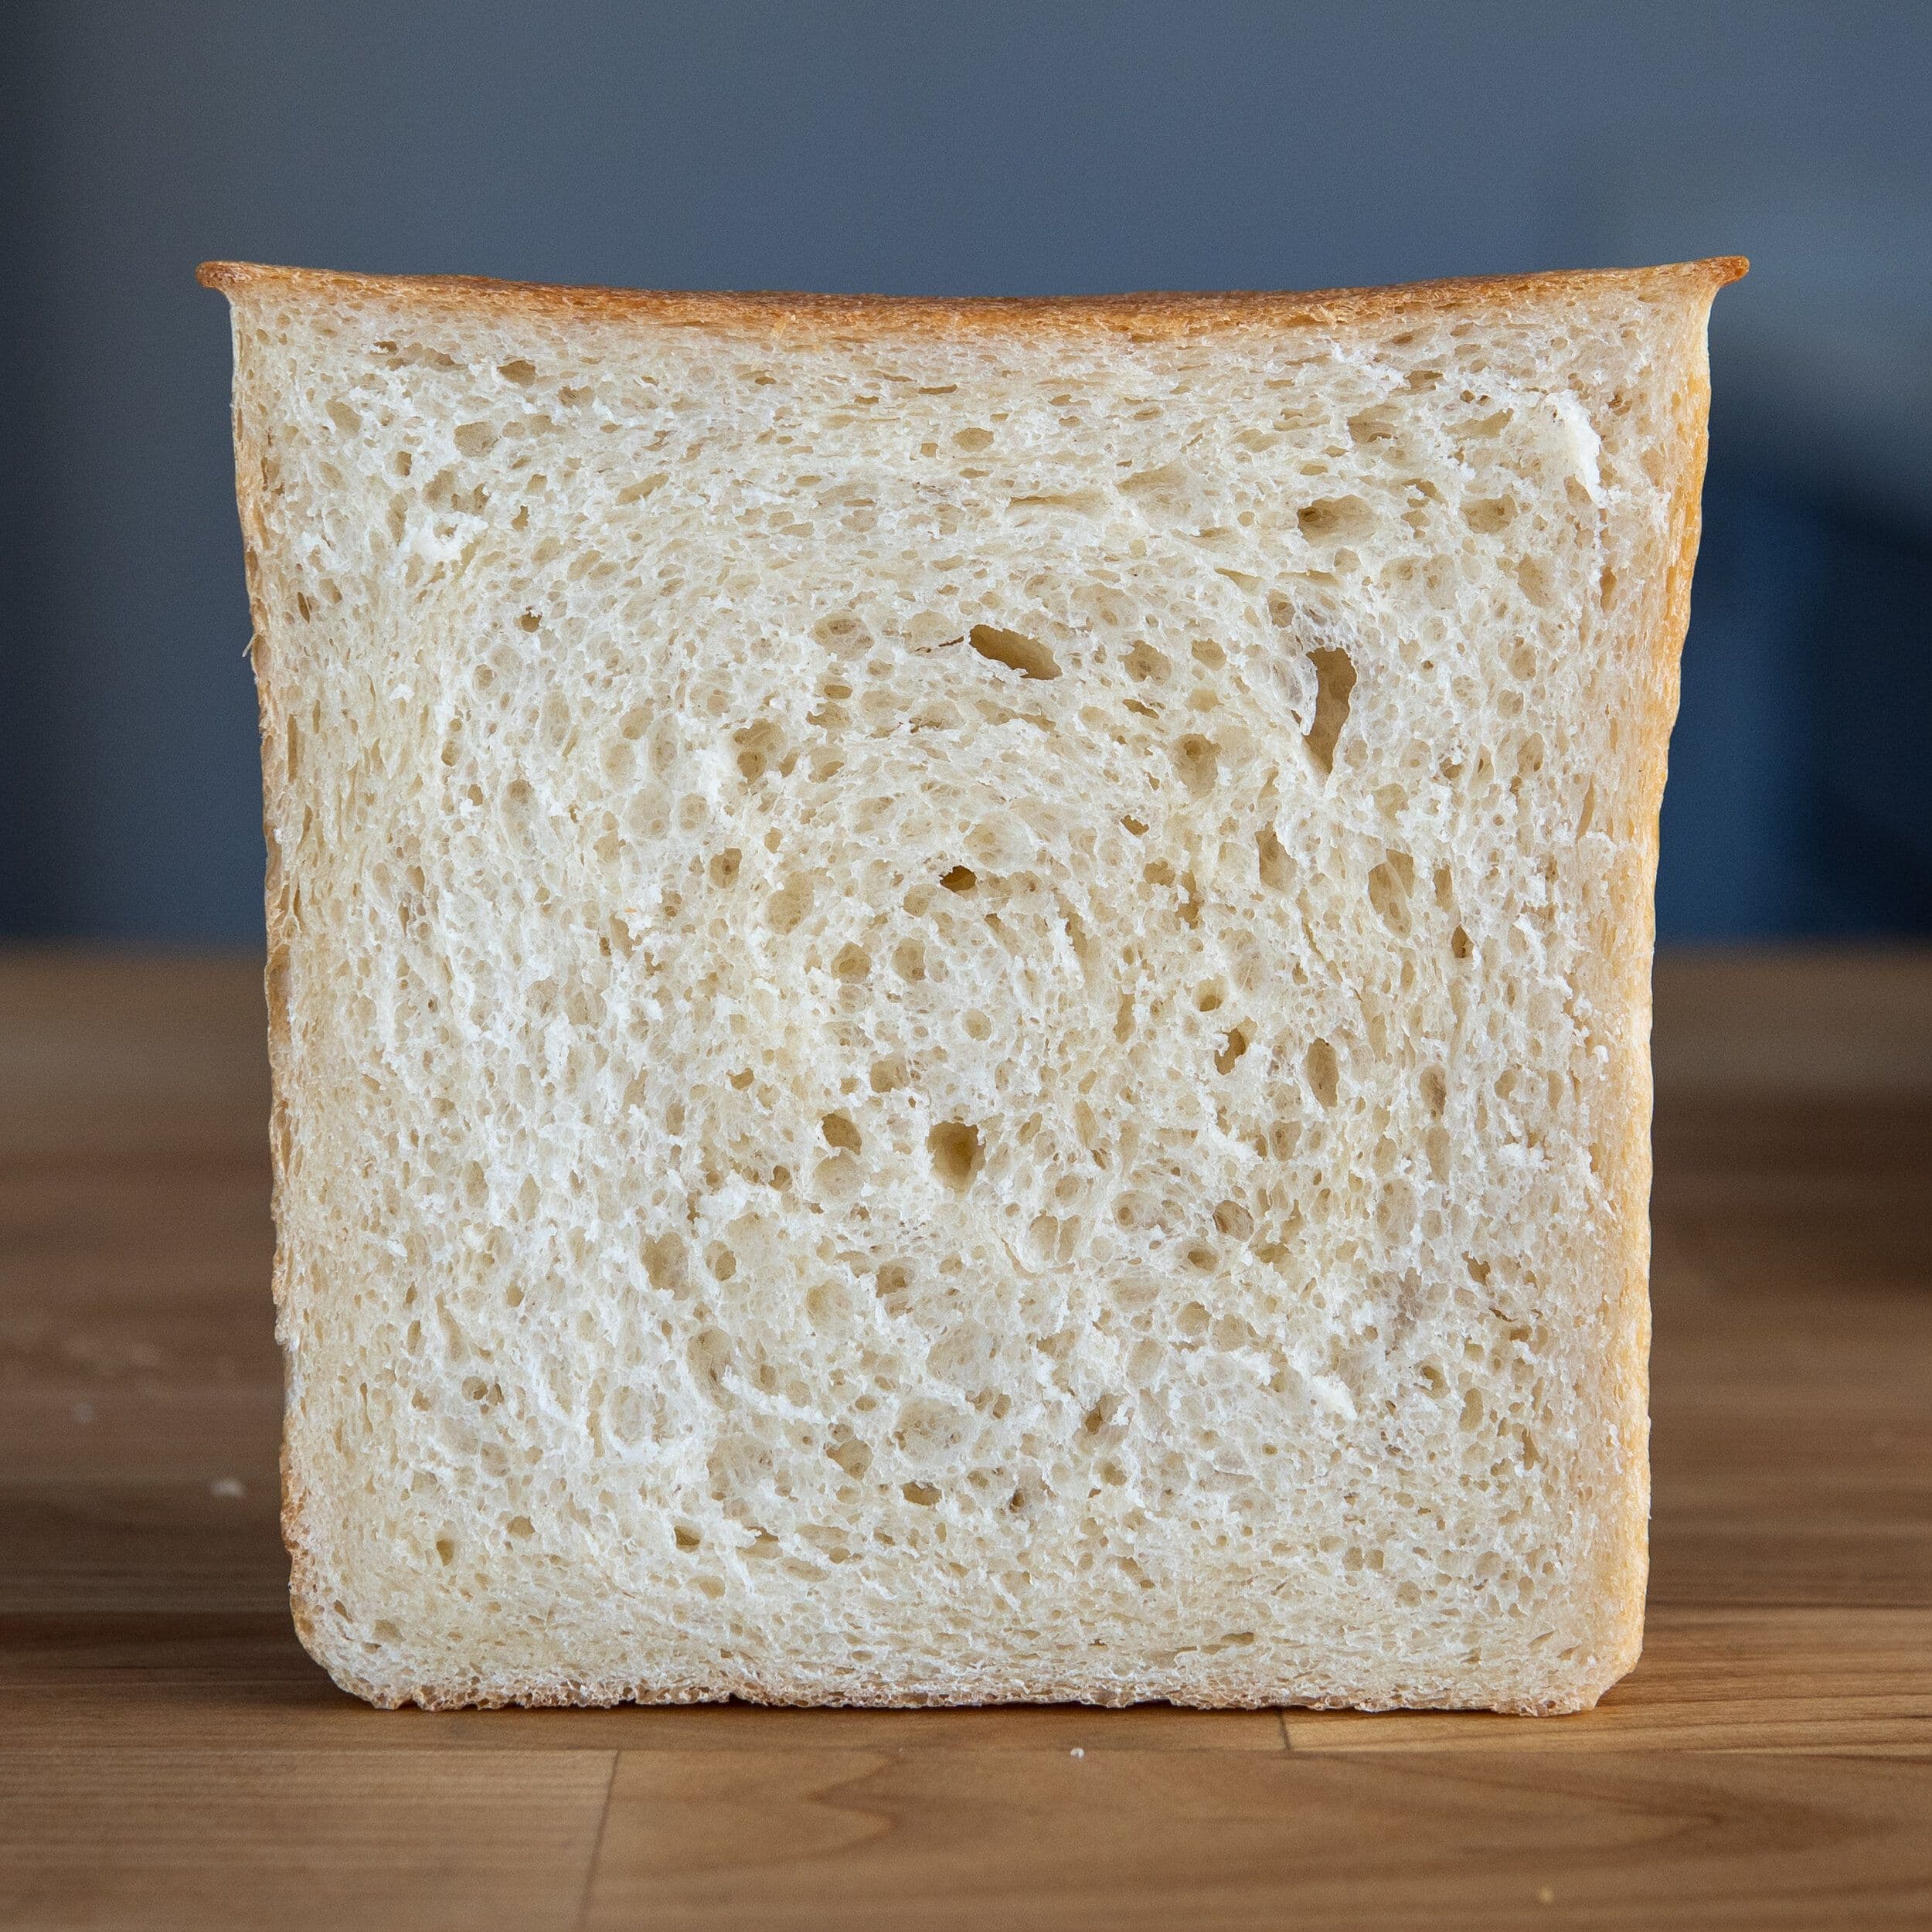
Shokupan (Japanese Milk Bread Loaf)
Japanese milk bread with a fluffy and soft interior.
 By Ethan Chlebowski
The bread uses an interesting technique called tangzhong, which makes working with the dough easier and keeps it from going stale even after a few days.
Ethan Chlebowski
Ingredients
Tangzhong
- bread flour35 g
- water175 g
Dough
- bread flour565 g
- milk, ideally 1%200 g
- instant yeast9 g1 packet
- sugar30 g
- butter, softened30 g
- eggs2
- salt12 g
Method
Step 1: Make the tangzhong & activate the yeast
Add the water to a skillet and whisk in the 35 g of flour. Set the pan over medium-low heat and stir the mixture until the roux thickens to a gloppy, pudding-like consistency. Turn off the heat.
- Set aside and let cool until 120°F/48°C or less (so as to not kill the yeast when it’s added to the dough).
Heat the milk for 45 seconds in the microwave (roughly around 105 degrees F). Stir in the yeast and set aside. Let stand for 5-10 minutes until light foam surfaces and little bubbles are visible.
- Note: Proofing is done to test the viability of the yeast. If there is no foam surface or little bubbles the yeast is likely dead and should be discarded.
Step 2: Mix the dough
Meanwhile, add the remaining 565 g of flour, sugar, and salt to a large mixing bowl.
Then, add the yeast-milk mixture, the cooled tangzhong, and crack in 2 eggs.
Mix the dough with your hands until a cohesive mass has just started to form then cut in the softened butter. Mix for another 1-2 minutes, then let it rest for 15 minutes to allow the dough to relax.
Step 3: Knead the dough
Once rested, continue in the bowl for another 10 or so minutes.
After kneading the dough, cut off a piece and test for gluten development by carefully stretching the dough very thin to check for a see-through 'window' before tearing.
- Note: The is the key to understanding if the flour has been hydrated enough which is how gluten is developed. If the dough tears before getting to a slightly translucent window continue kneading for another couple of minutes.
Step 4: Bulk Ferment (1st Ferment)
Once you are done , add the dough to the mixing bowl and cover with plastic wrap. Let it rise until roughly doubled in size, about 60-90 minutes. It could take more or less time depending on the yeast and room/dough temperature.
Step 5: Shape & Proof the Loaf (2nd ferment)
Once doubled in size, punch the dough down and turn out onto the counter. Work the dough into a large rectangle about the width of the pan and then tightly roll the loaf up into a log.
Pinch the seam at the bottom and place the seam side down into a nonstick or greased 13.5-inch Pullman loaf pan.
Cover lightly with plastic wrap and let rise for another 45 to 60 minutes until the dough has risen above the top edge of the loaf pan.
- Note: If using the cover for a square loaf, place it over the top before the bread has crested the edge of the pan.
Preheat the oven to 375°F/190°C with 15-20 minutes left of proofing.
Step 6: Bake
Note: If you are not using a cover on the bread pan, you’ll need to egg wash the surface: Whisk an egg yolk with a splash of milk. Brush over the top of the proofed loaf.
Add the pan to the preheated oven and for 30 minutes.
- When finished, the exterior of the bread should be golden brown. Test the interior with a cake tester or a thermometer to see if the interior has reached 200°F/93°C.
Slide the loaf onto a wire rack and let it cool completely (to avoid a gummy interior texture) before slicing and enjoying.
FAQ
Also Appears In

Free Spice Guide
Join The Mouthful Newsletter to receive our essential spices list pdf.
Just subscribe to our weekly newsletter where 60,000+ readers get lifestyle protocols, recipe frameworks, Q&A from expert home cooks, and cooking trends explained.
We hate spam too. Unsubscribe anytime.