Rice Cooking Fundamentals (4 Methods)
- Loading video...
How to make Perfect Rice at home, according to science.
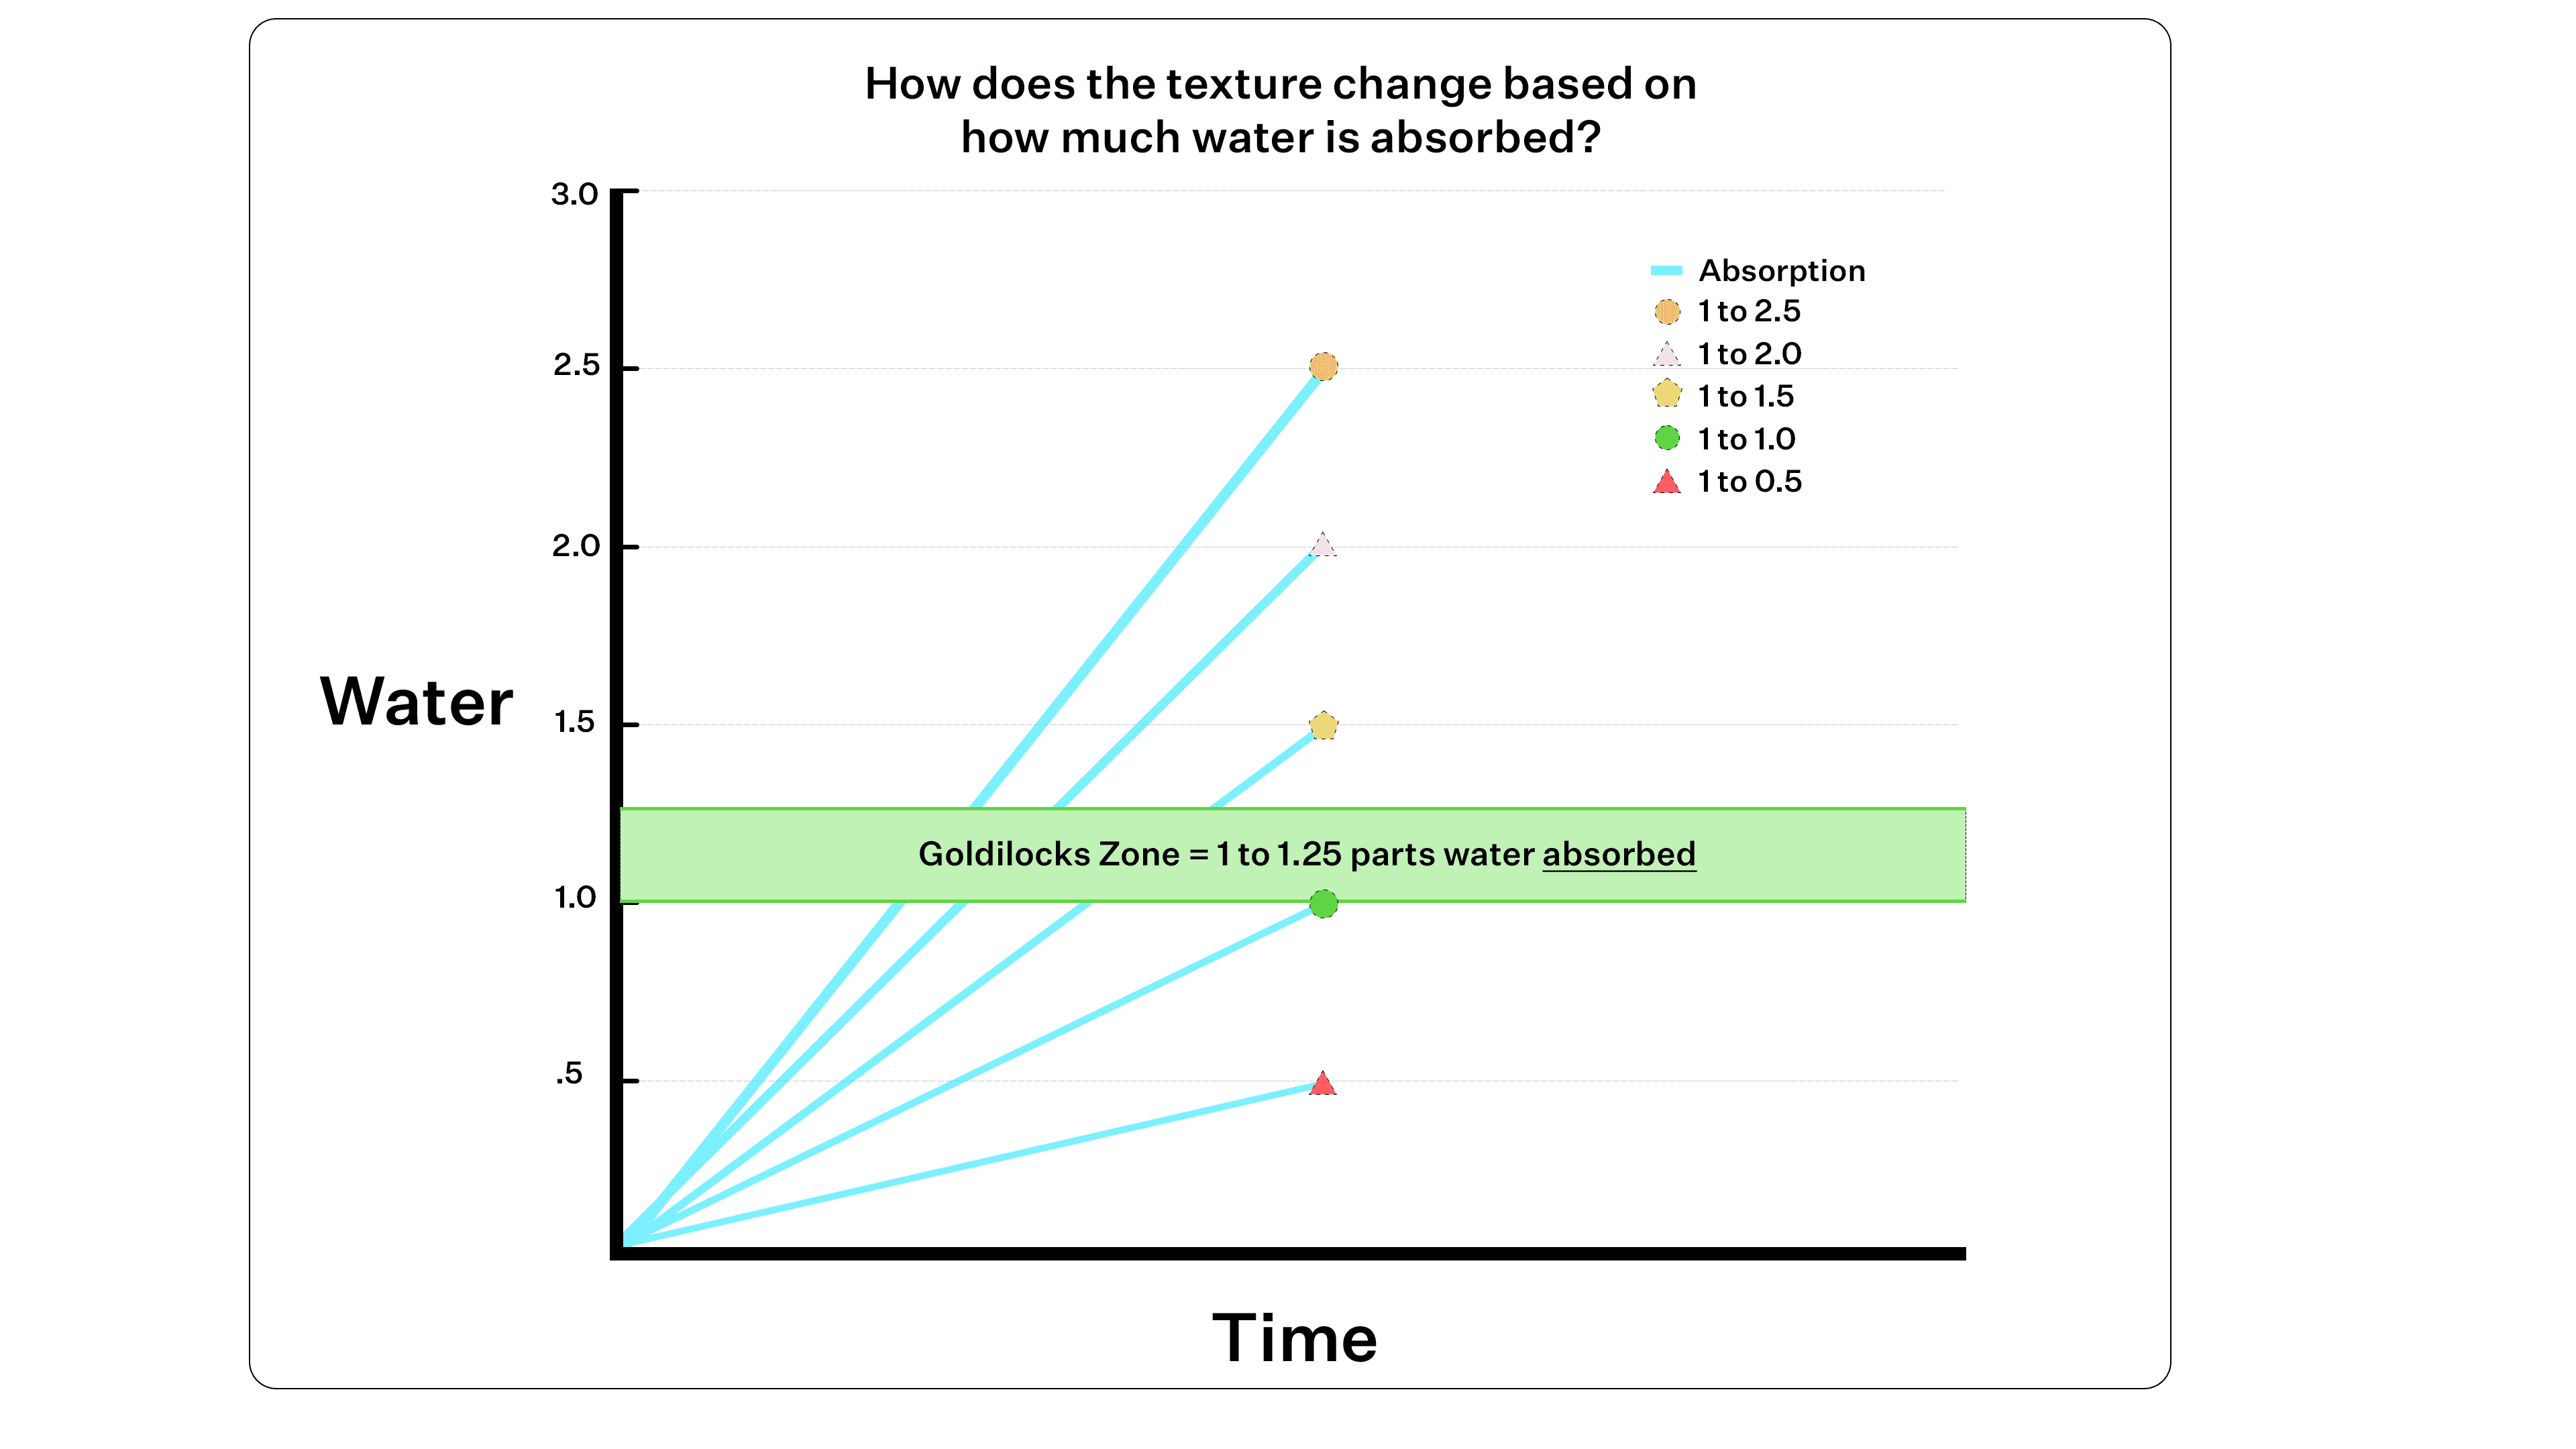
For optimal texture, you want your rice to absorb about an equal part of water by weight, regardless of how much water evaporates during the cooking process.
Many variables can affect evaporation and absorption. The most important are:
- How tight your lid fits
- How wide your cooking pot or pan is (wider pans evaporate way more liquid)
- The type of rice used (grain size and variety)
- Ambient humidity or altitude
So to account for evaporation, most cooking methods use more than a 1:1 ratio of rice to water.
For white rice varieties, we recommend starting with a general ratio of 1 part rice to 1.25 parts water (by weight).
- For whole grain varieties, you’ll need to use more water because they take longer to absorb water, and thus evaporate much liquid during cooking.
NOTES
- When scaling up a rice recipe in the same pot, use less water per measure of rice. Since evaporation remains constant, simply multiplying your usual water ratio will leave too much liquid, resulting in mushy rice.
Most rice cooking mistakes come from using too much water. Try one of the following methods to improve nail rice texture every time:
Rice cooking methods
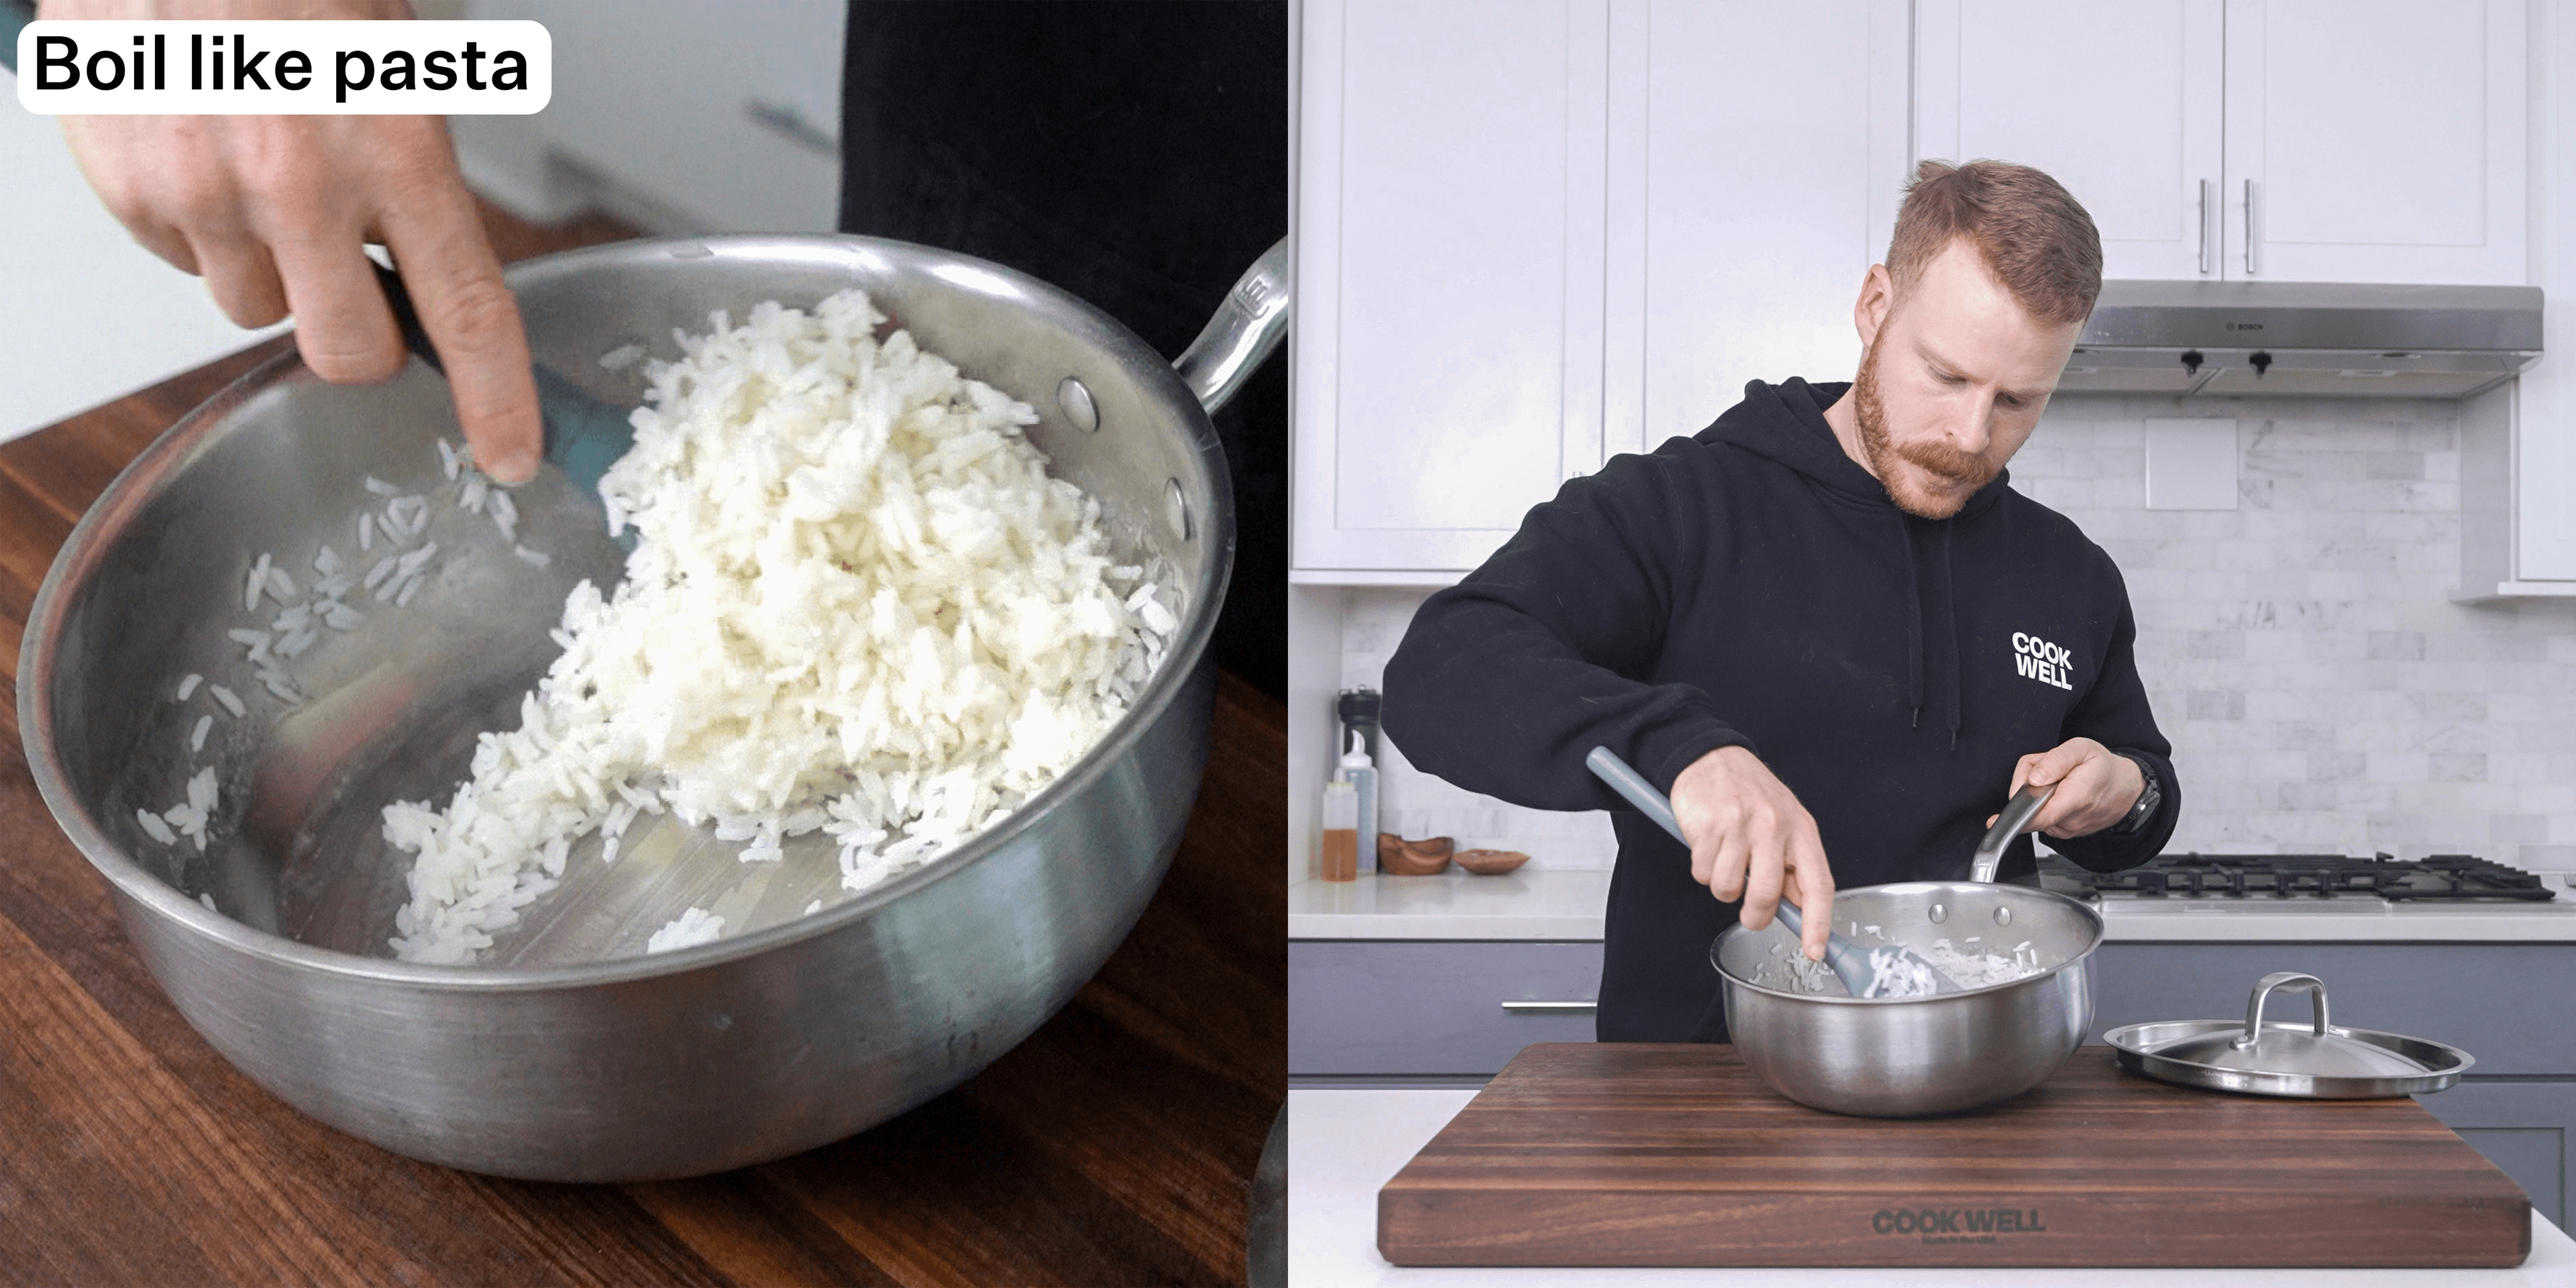
1. Boiling like pasta: the foolproof method
How it works
- Bring a pot of water to a rolling boil.
- Add the rice and cook until tender just like pasta. You just give it a taste every few minutes and once it feels fully cooked through you can pull it off.
- Drain in a colander, then let it steam dry for a few minutes before serving which helps keep it nice and fluffy.
Why it works
Rice absorbs what it needs while excess water is drained away, removing evaporation concerns.
Pros:
- No measuring needed. No risk of burning or undercooking.
- Works for all rice types (brown, red, black) - just boil until tender.
Cons:
- Requires draining step.
- Minimal nutrient loss (about 1%).
- Not ideal for fortified rice.
When to use
Tricky situations like: cooking in unfamiliar kitchens, missing pot lids, large batches, different rice varieties
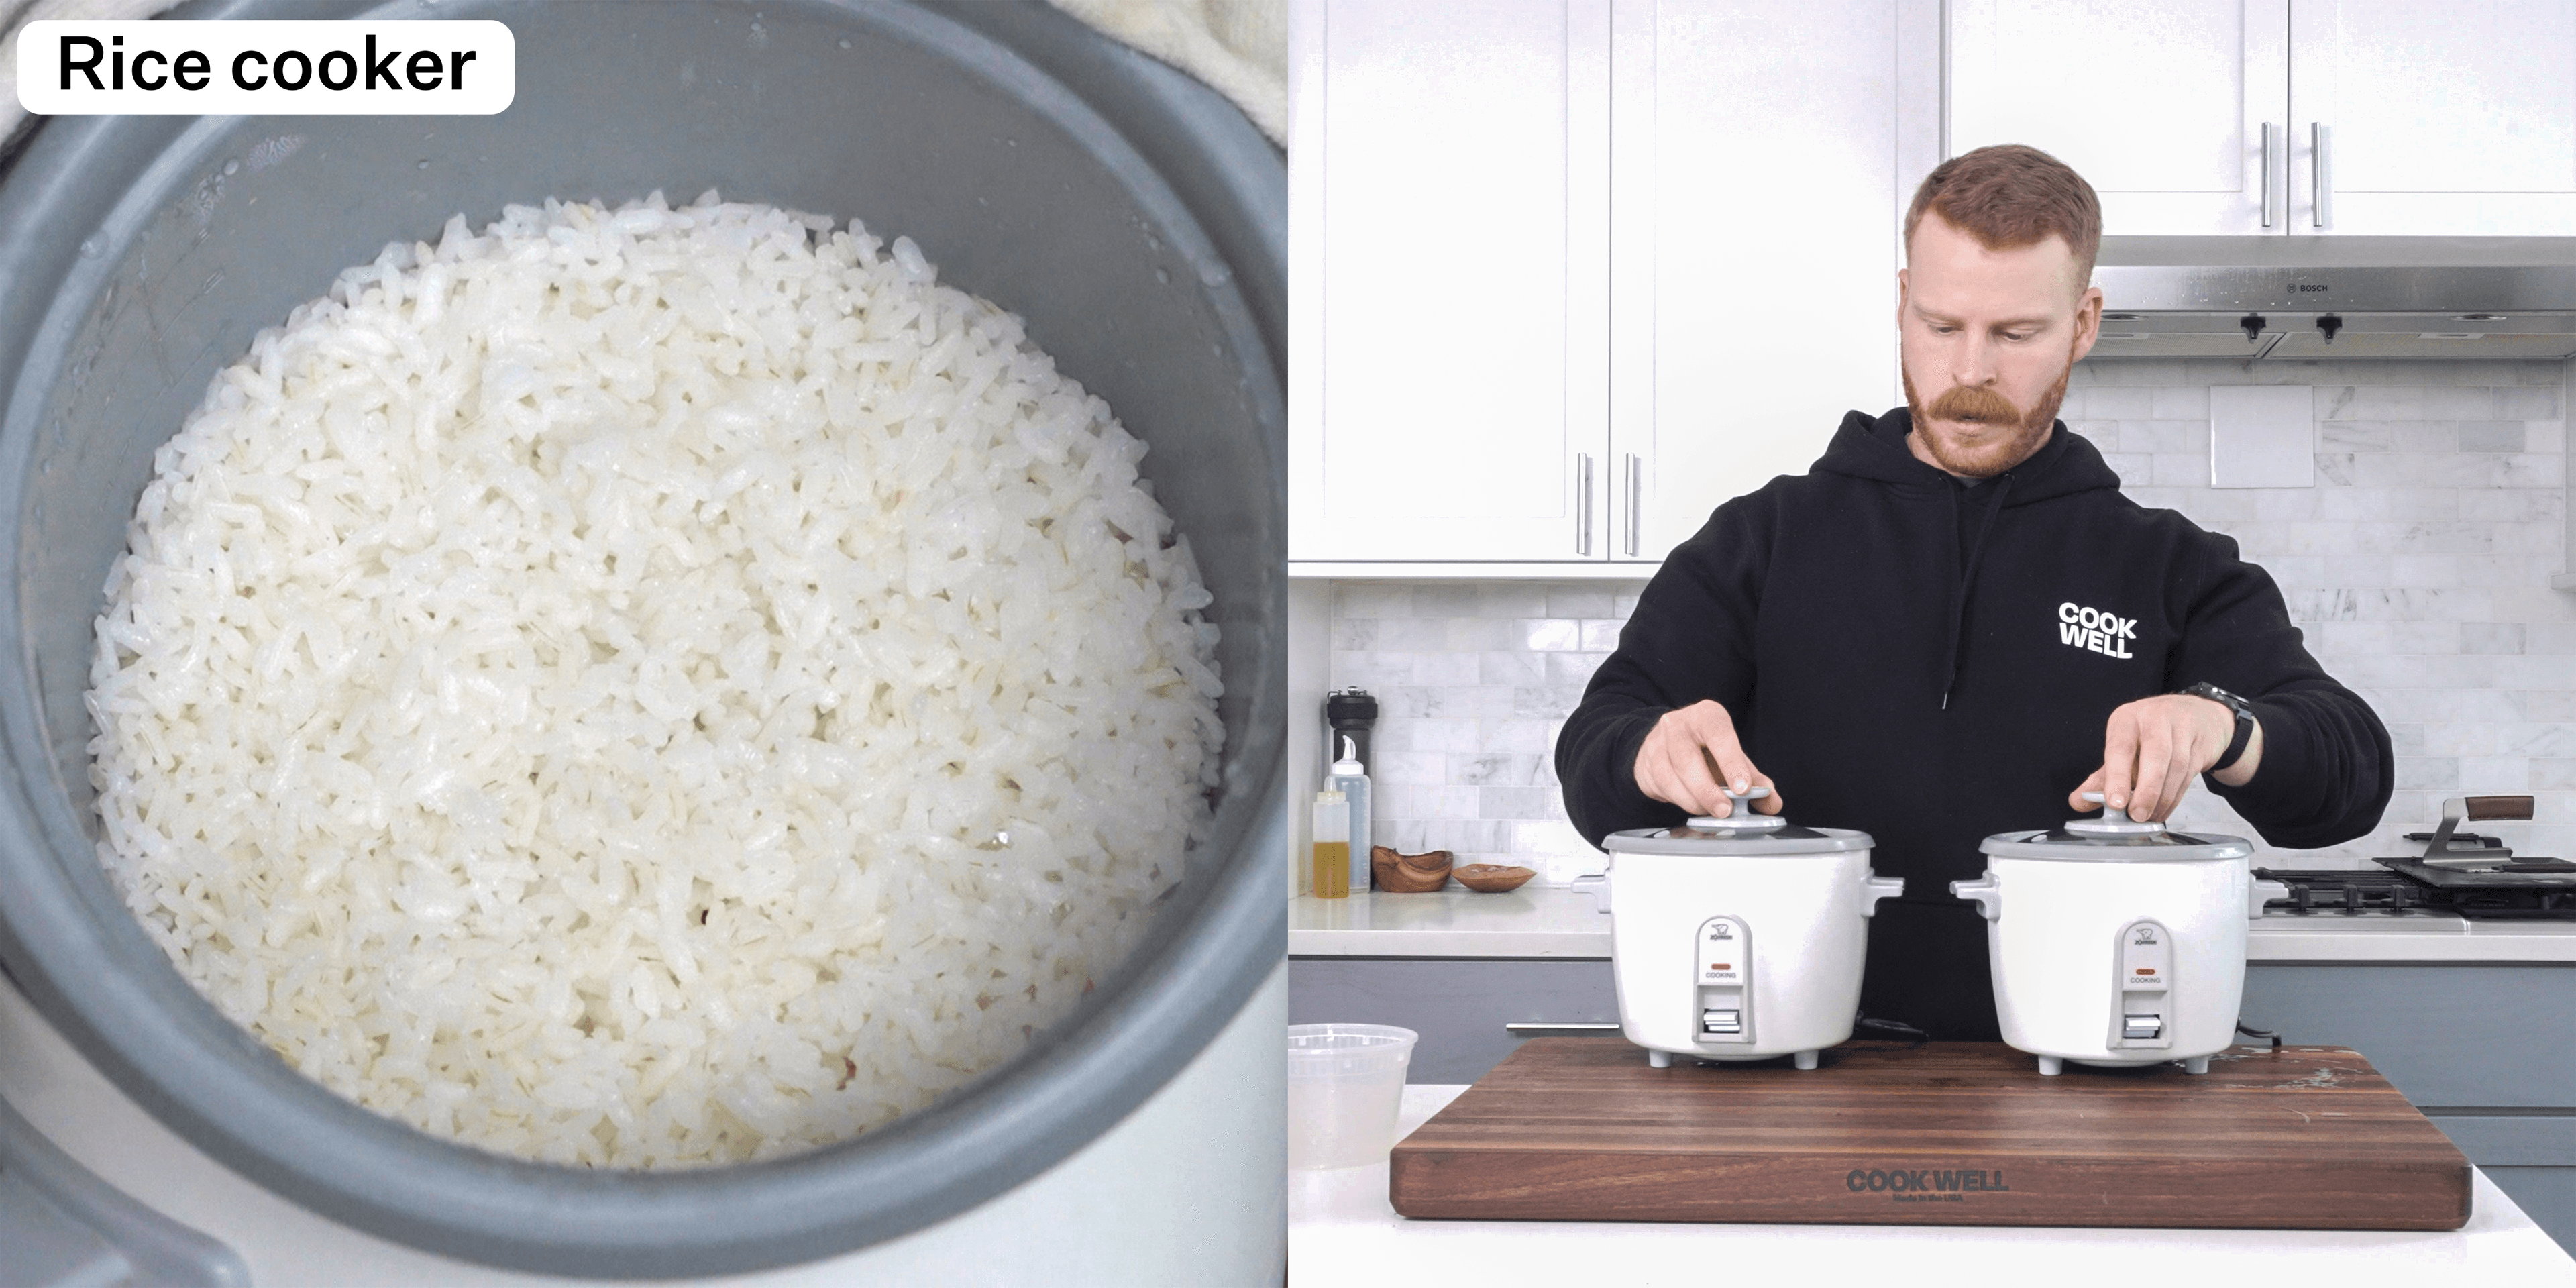
2. Rice cooker: the hands-off method
How it works
- Follow your model’s directions: Add rice and fill water to the marked line (though using slightly less water (1:1.1 ratio) creates chewier rice).
Why it works
Rice cookers are designed for perfect rice every time. The sealed lid minimizes evaporation, ensuring proper water absorption.
Pros:
- Automated cooking with consistent results
Cons:
- Takes up storage space and can be expensive for larger models
- Not suitable for aromatic toasted rice recipes like Mexican rice, pilaf, jollof, etc
When to use
Regular & frequent rice cooking
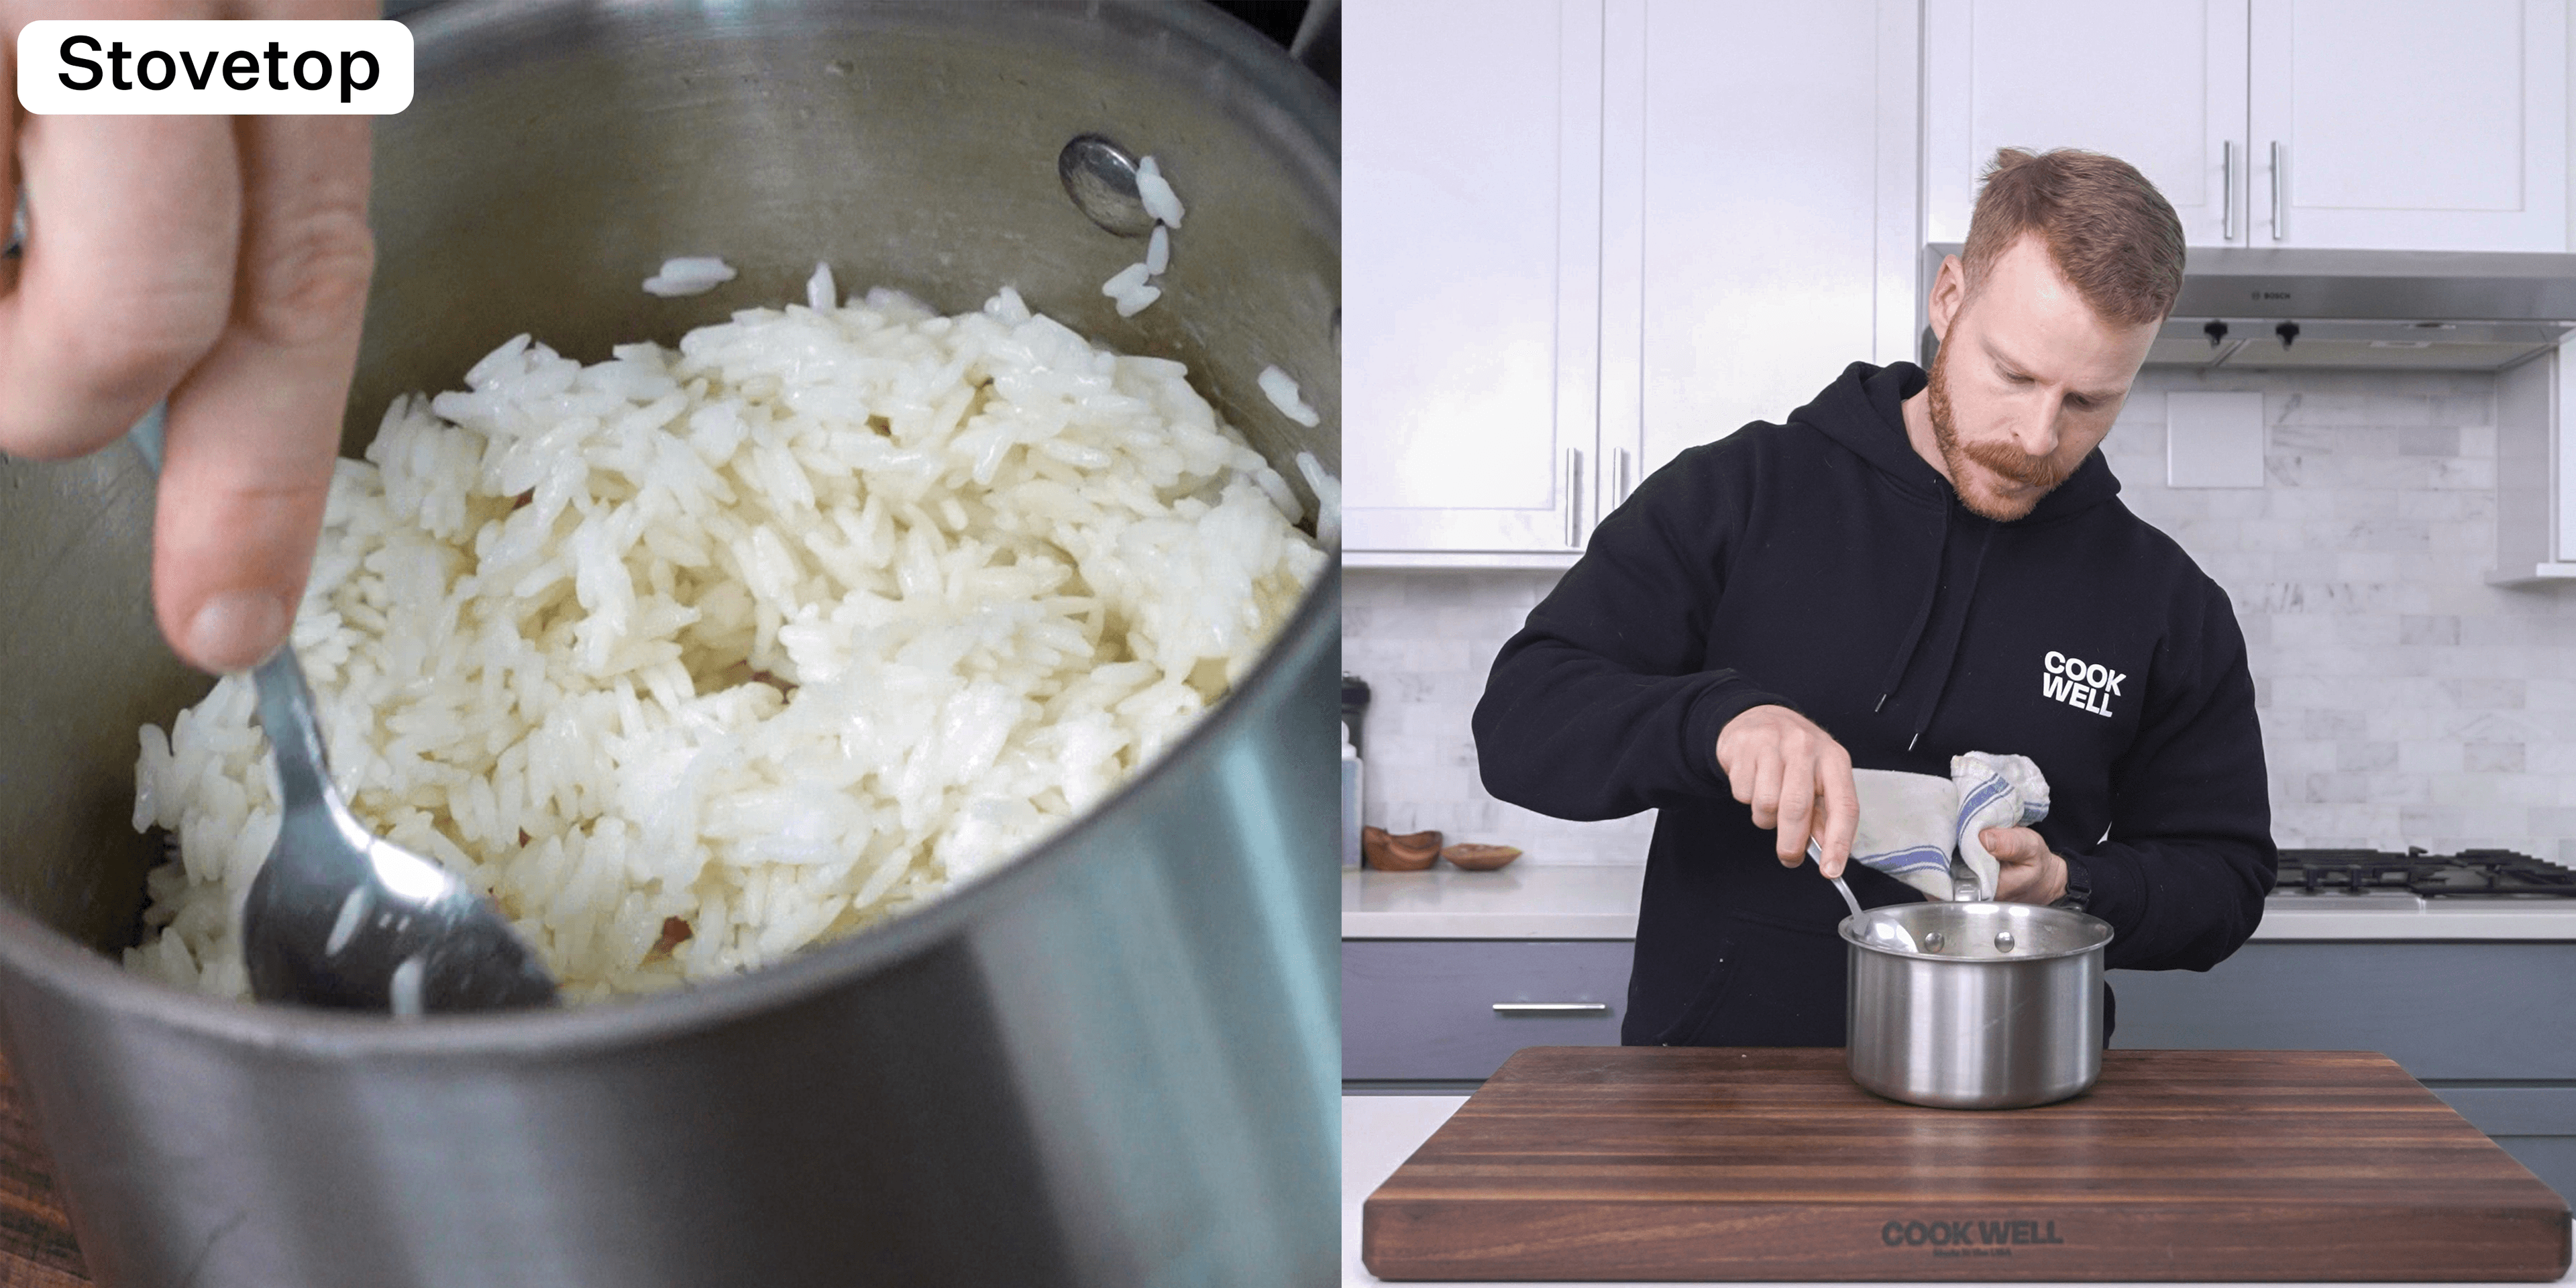
3. Stove-top method
How it works
- Optional - toast the rice and/or add + saute any additional ingredients or aromatics.
- Add ~1.25 parts water to the rice (less if you are using water ingredients like tomato sauce in the recipe).
- Bring to a boil and stir for 2-3 minutes until rice is fully hydrated.
- Turn off the heat, cover the pot with a towel and lid, and allow to steam for 15 minutes.
Why it works
The stovetop method is trickiest due to many variables affecting evaporation, including pot size and lid fit, but it allows you to make a variety of recipes with added ingredients and aromatics
Pros:
- Allows for toasting rice first for added flavor.
Cons:
- Easiest to mess up.
When to use
Best for making flavored, aromatic rice dishes that need toasting or sautéing before the rice gets simmered and steamed.
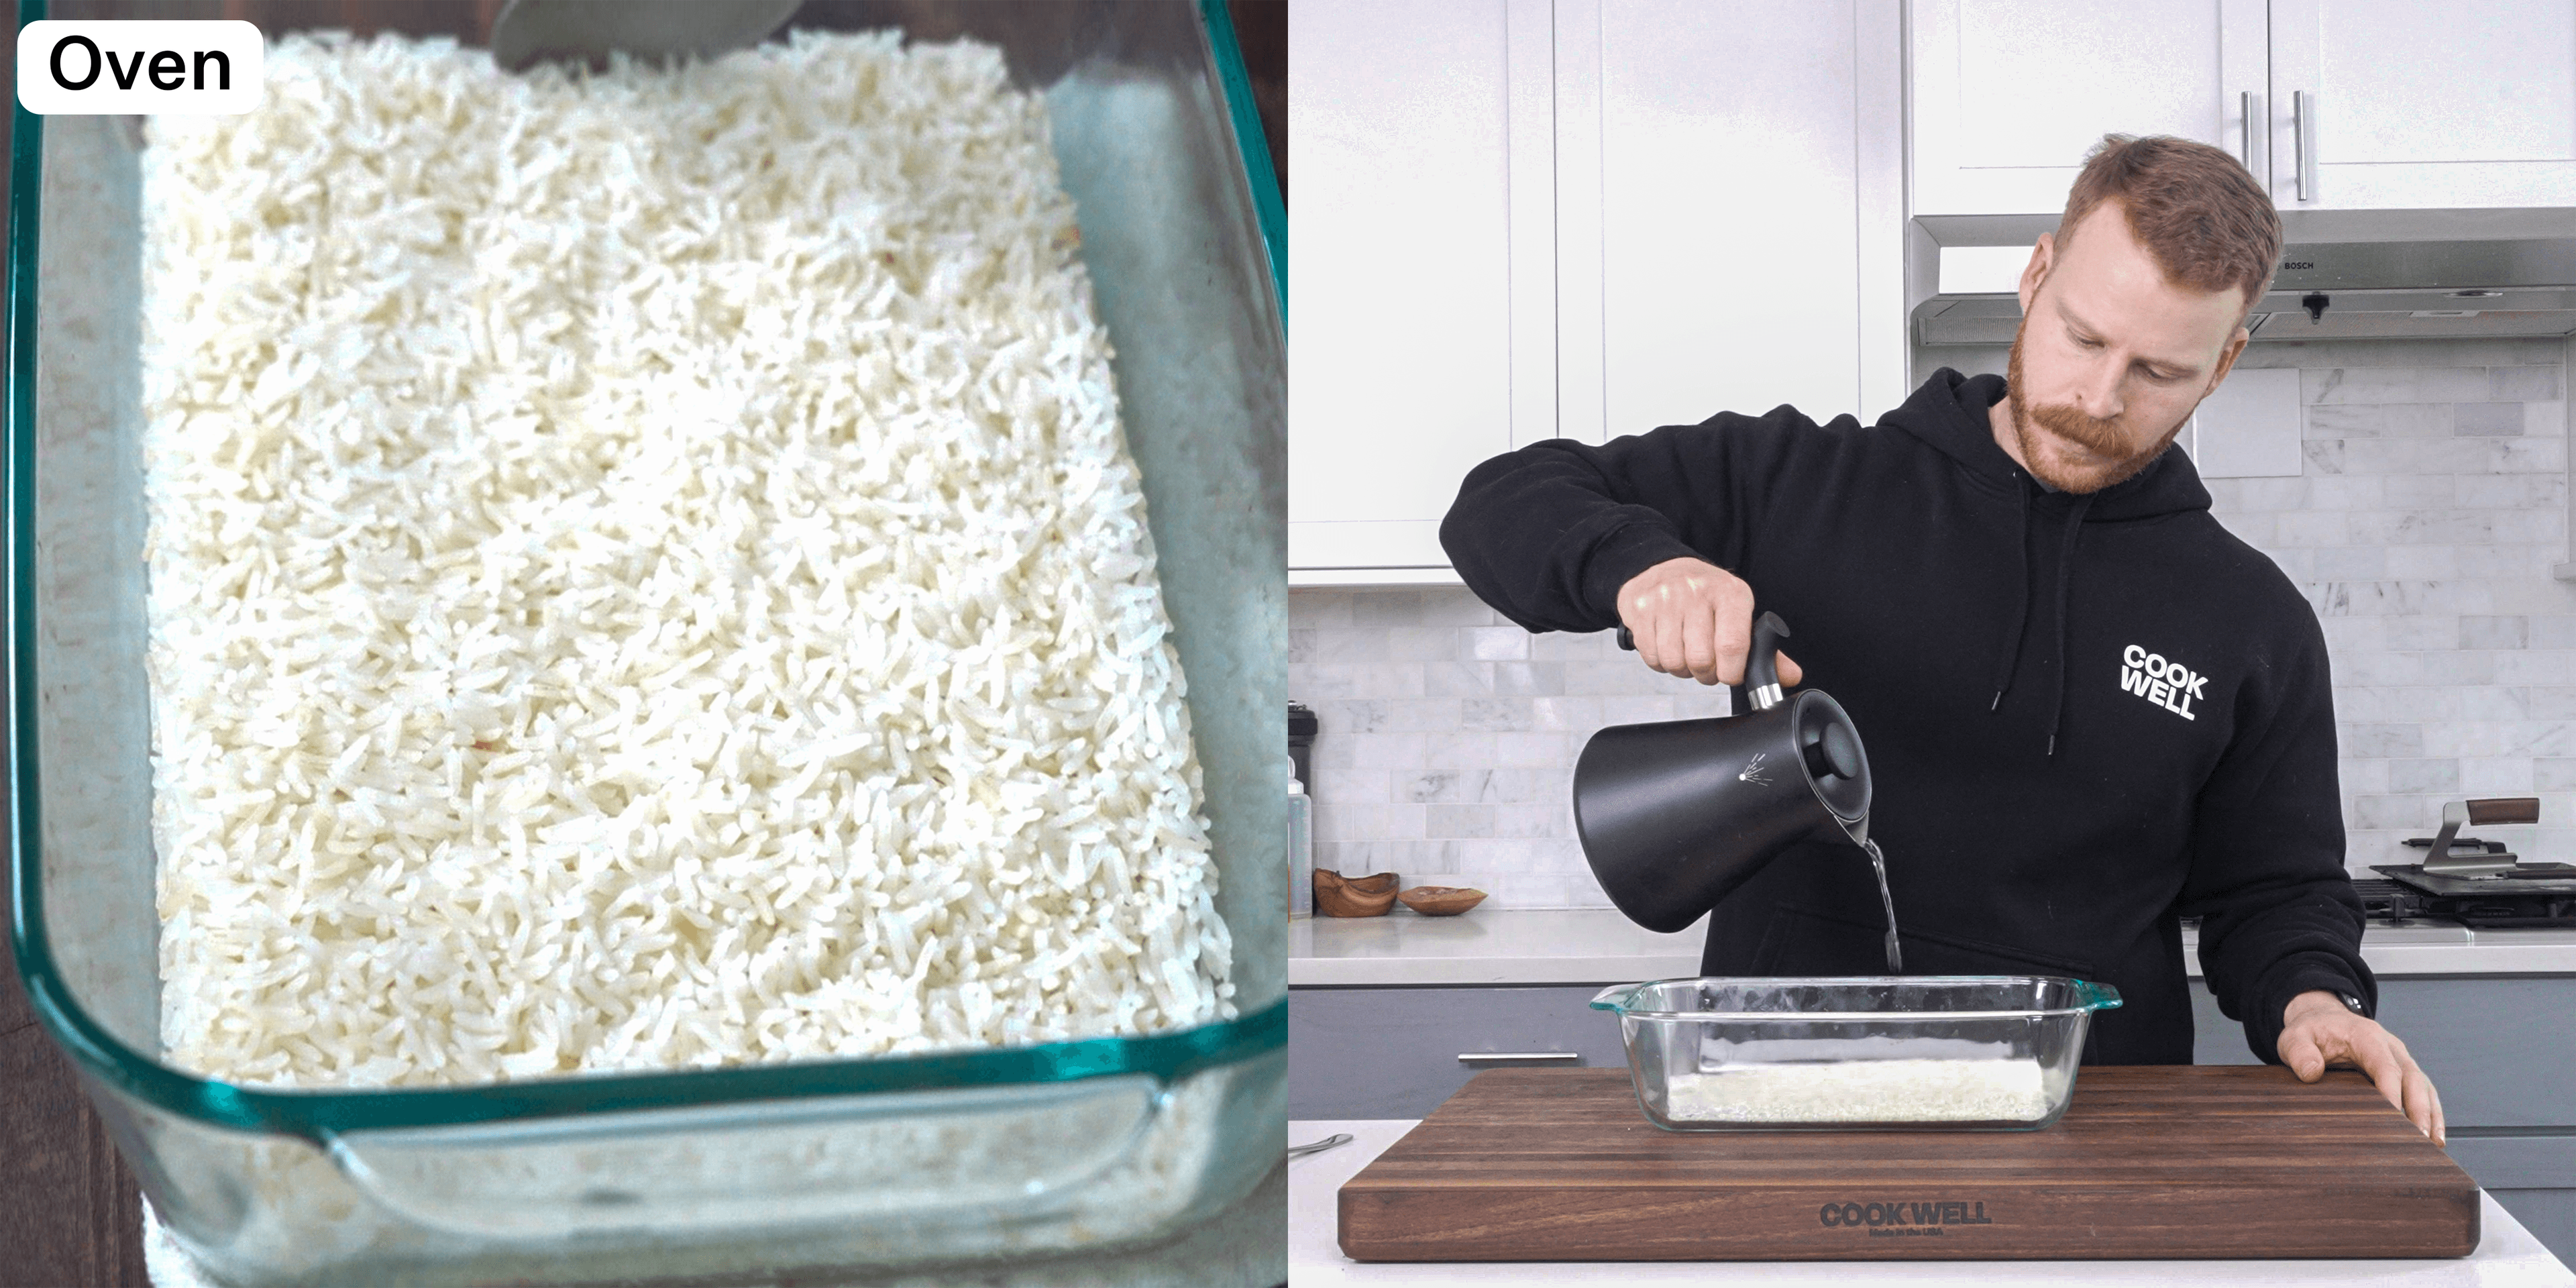
4. Oven-baked rice
How it works
- Preheat oven to 375°F (190°C), and boil some water in a pot (more than the amount of rice you will be using)
- Combine rice and boiling water (usually in a 1:1.2 ratio) in an oven-safe dish.
- Cover tightly with foil and bake for 25-30 minutes.
- Fluff with a fork after baking.
Why it works
Minimal evaporation & the sealed environment locks in moisture. Water absorption happens slowly and evenly, preventing overcooked or mushy spots.
Pros:
- Completely hands-off, no stirring or watching required.
- Perfect for large batches.
Cons:
- Takes longer than other methods (typically 30+ minutes).
- Requires an oven-safe dish and preheated oven, adding extra prep time.
When to use
Cooking rice ahead of time for a crowd, meal prep, or when needing to save on stove space.
Cooking with Rice
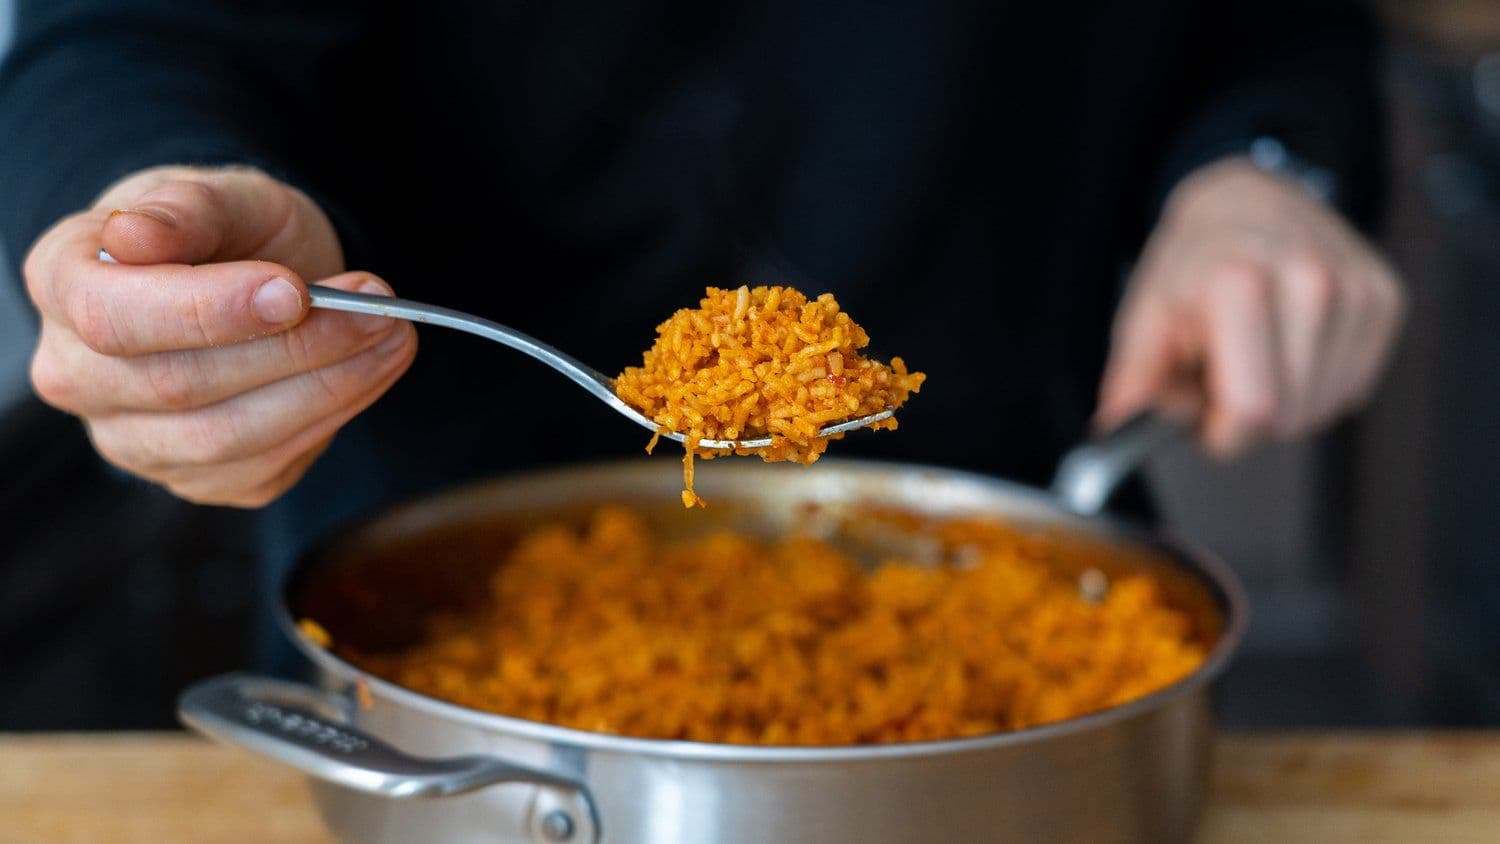
Jollof Rice
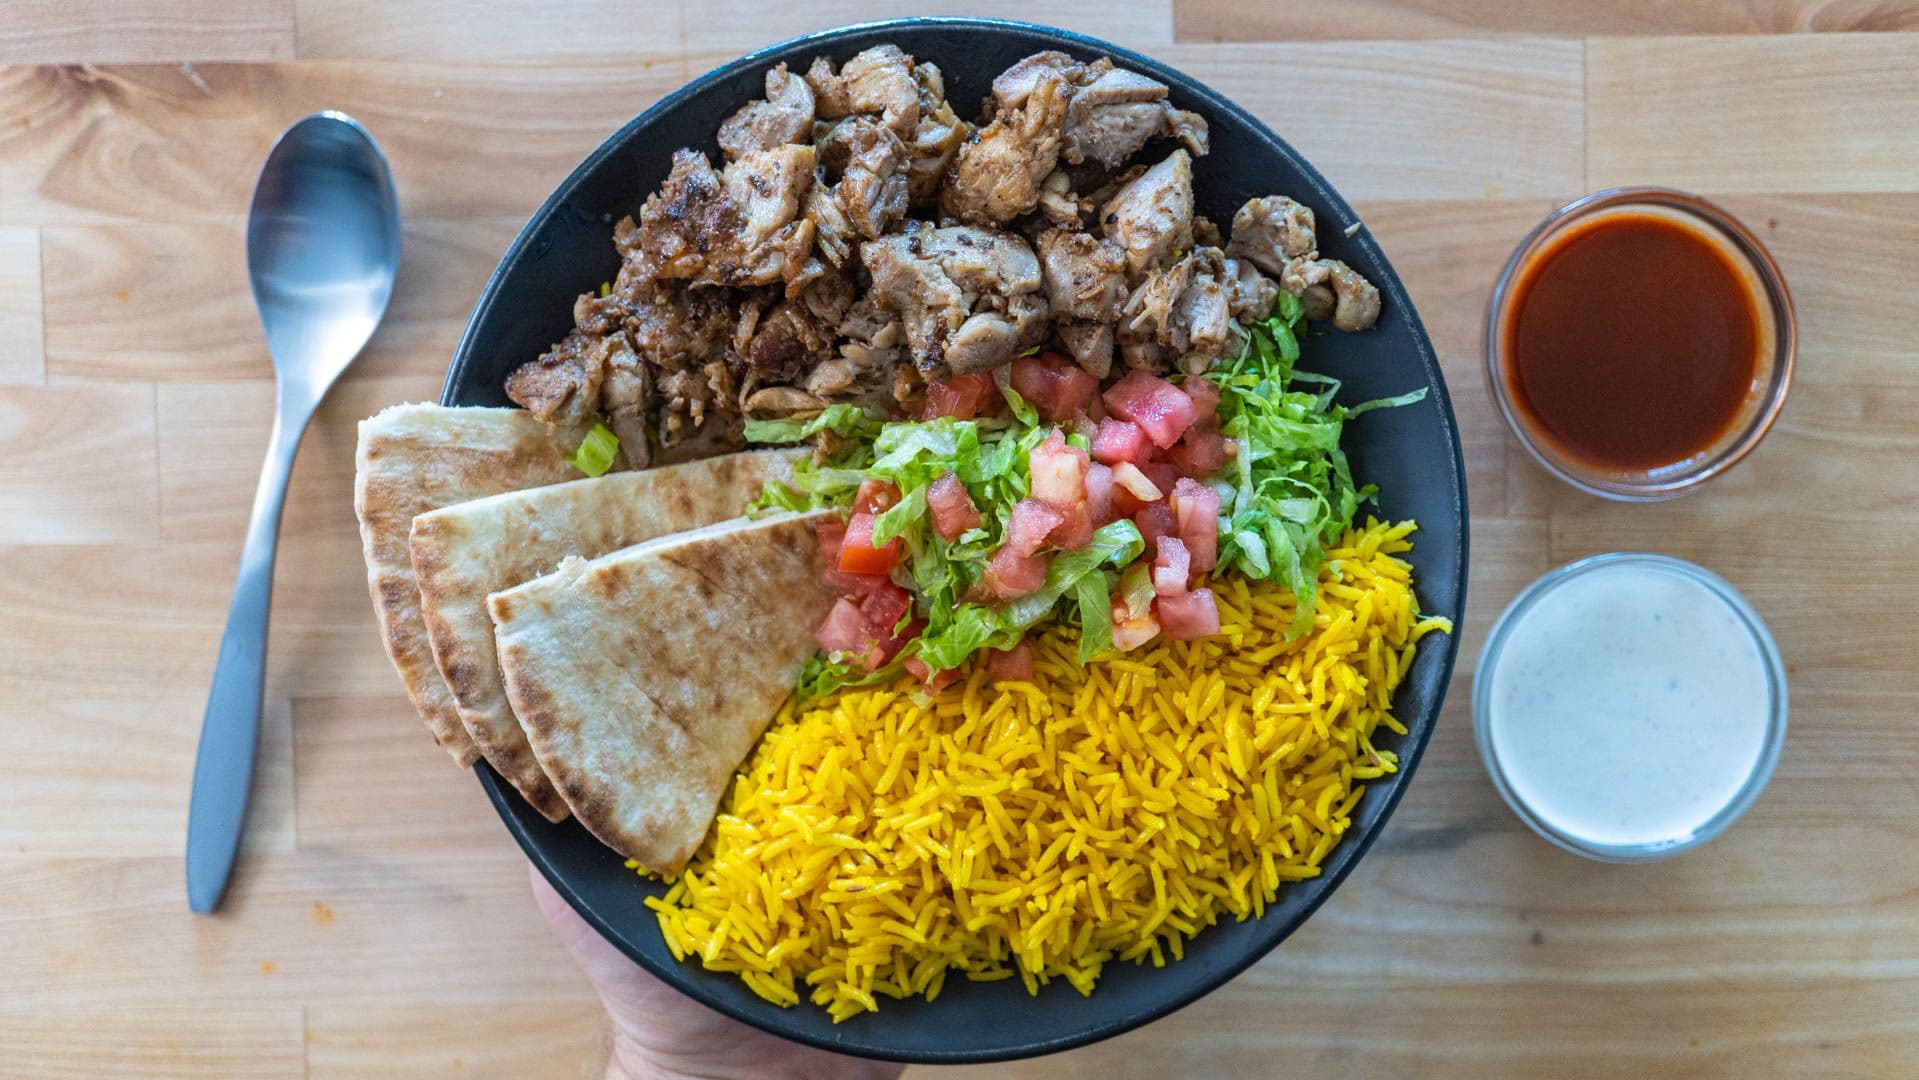
Street Cart Chicken & Yellow Rice
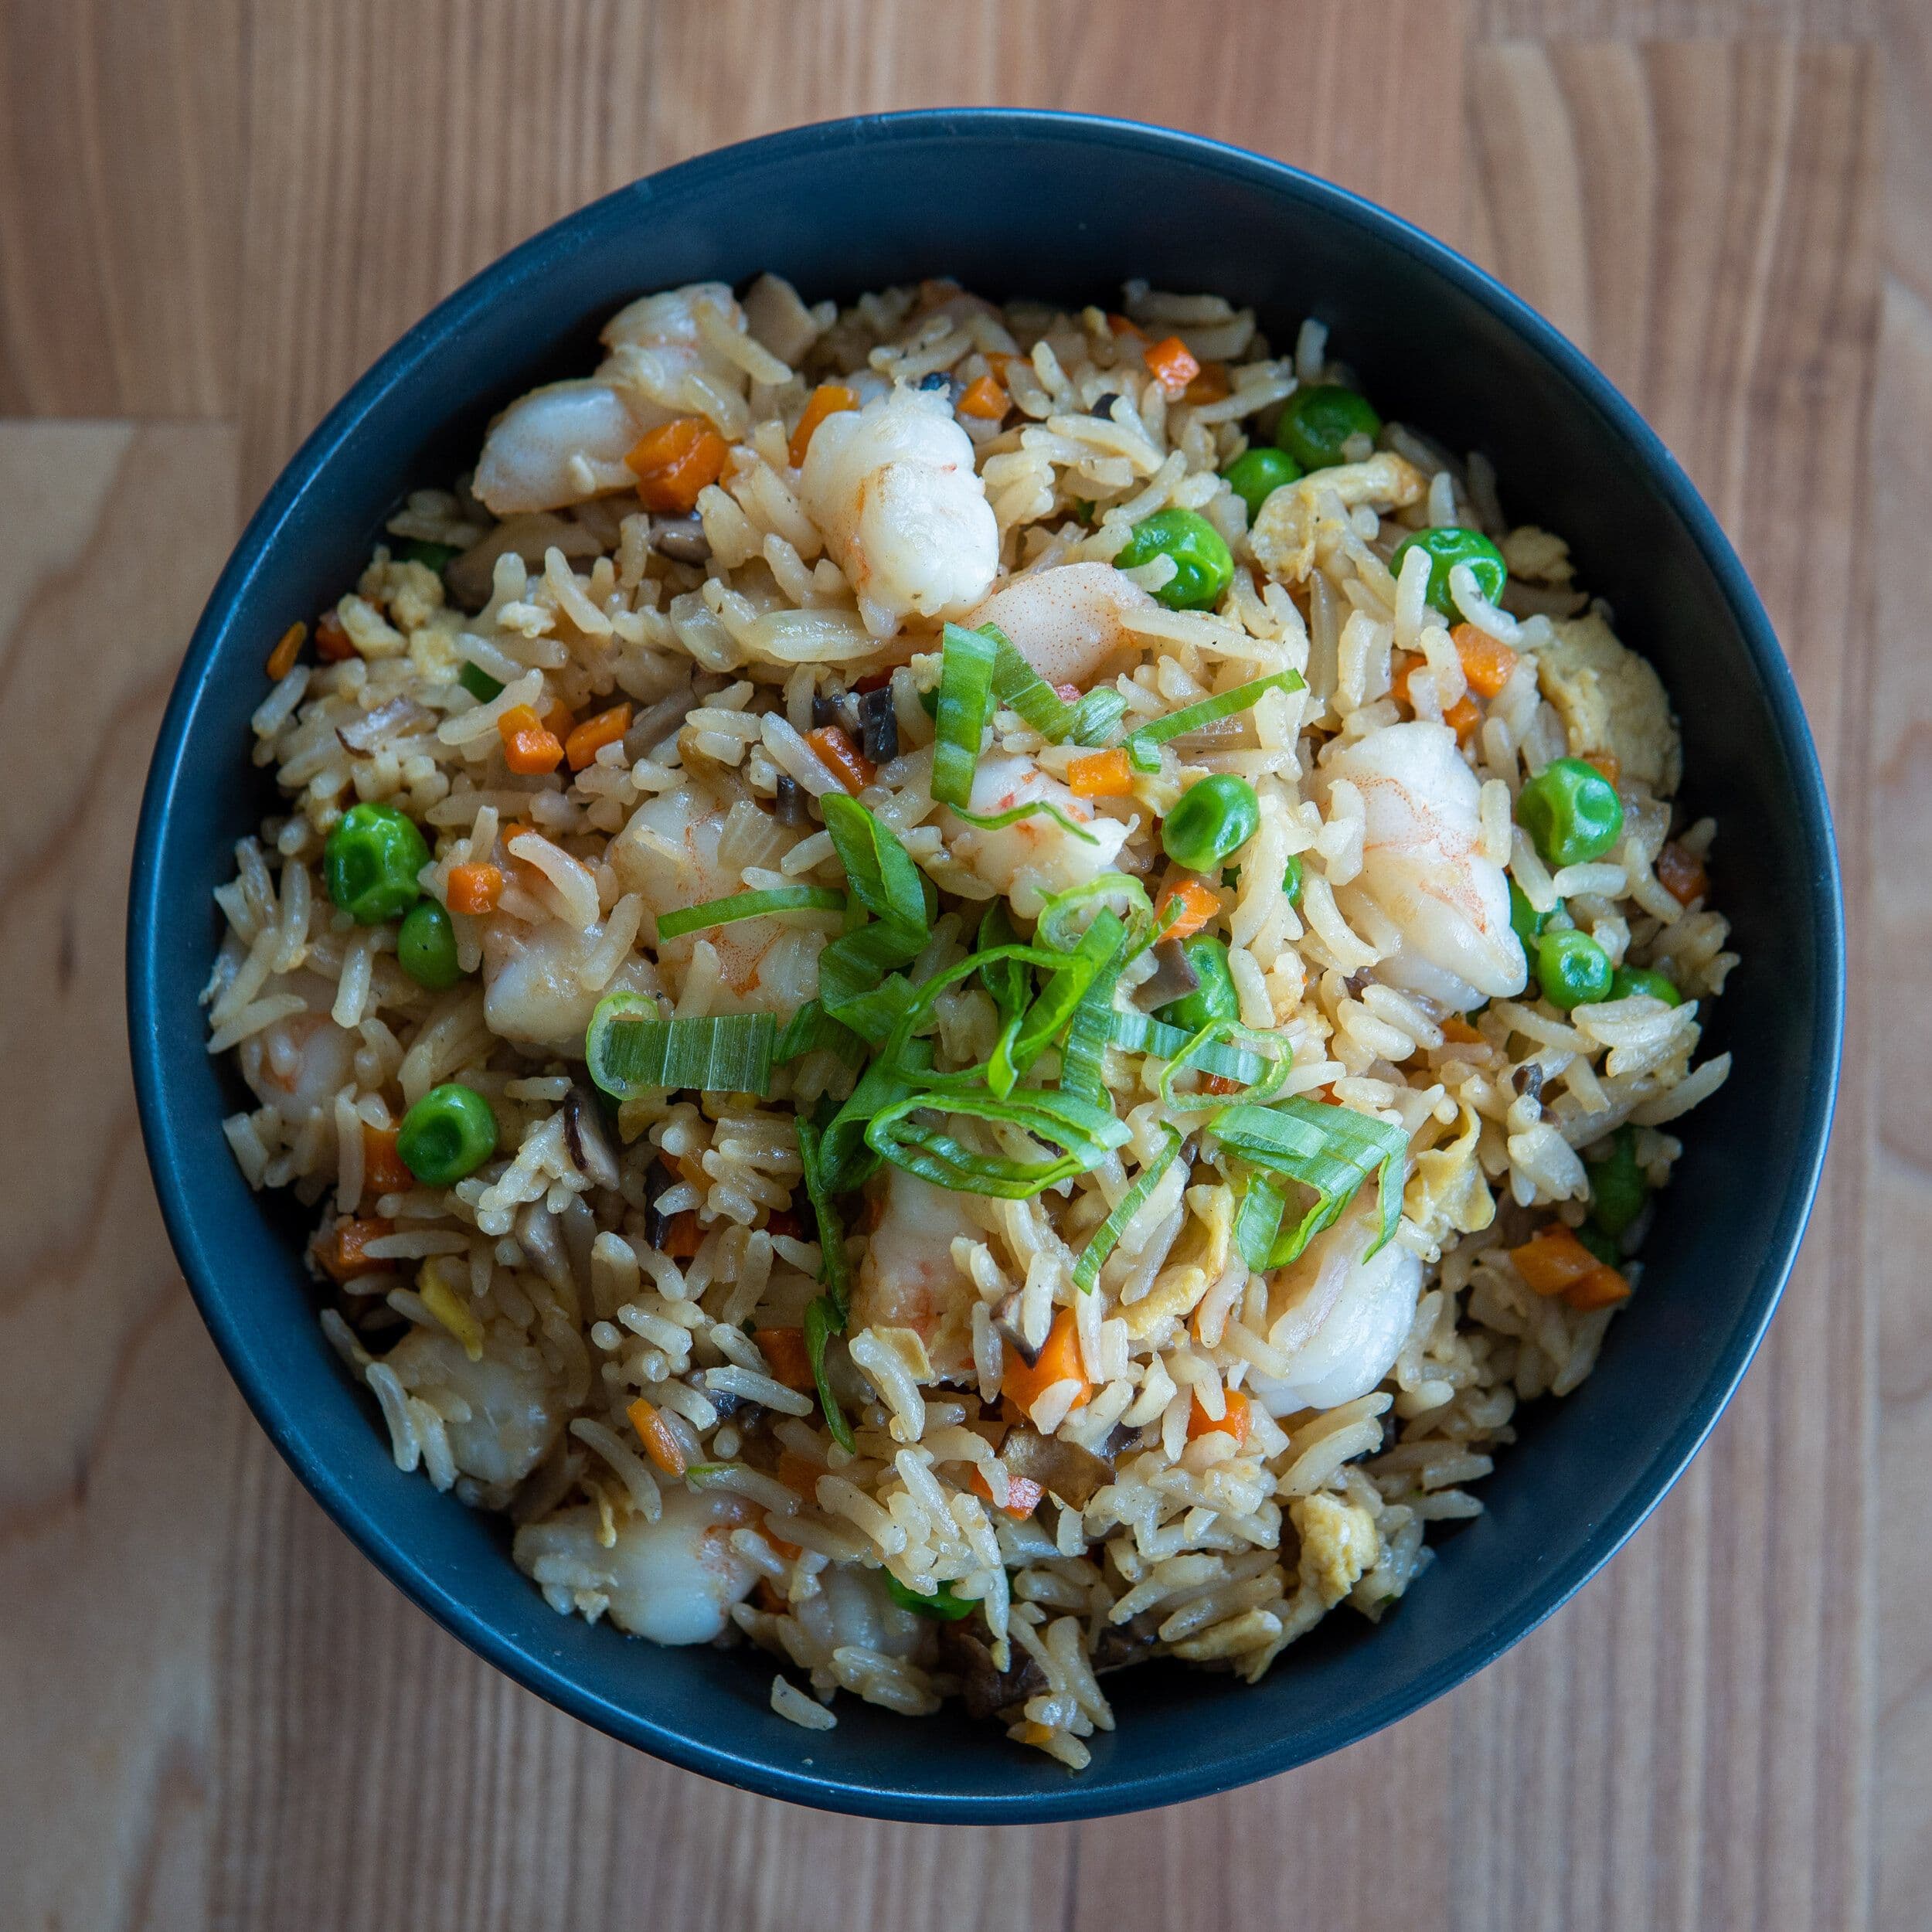
Lower Calorie Shrimp Fried Rice
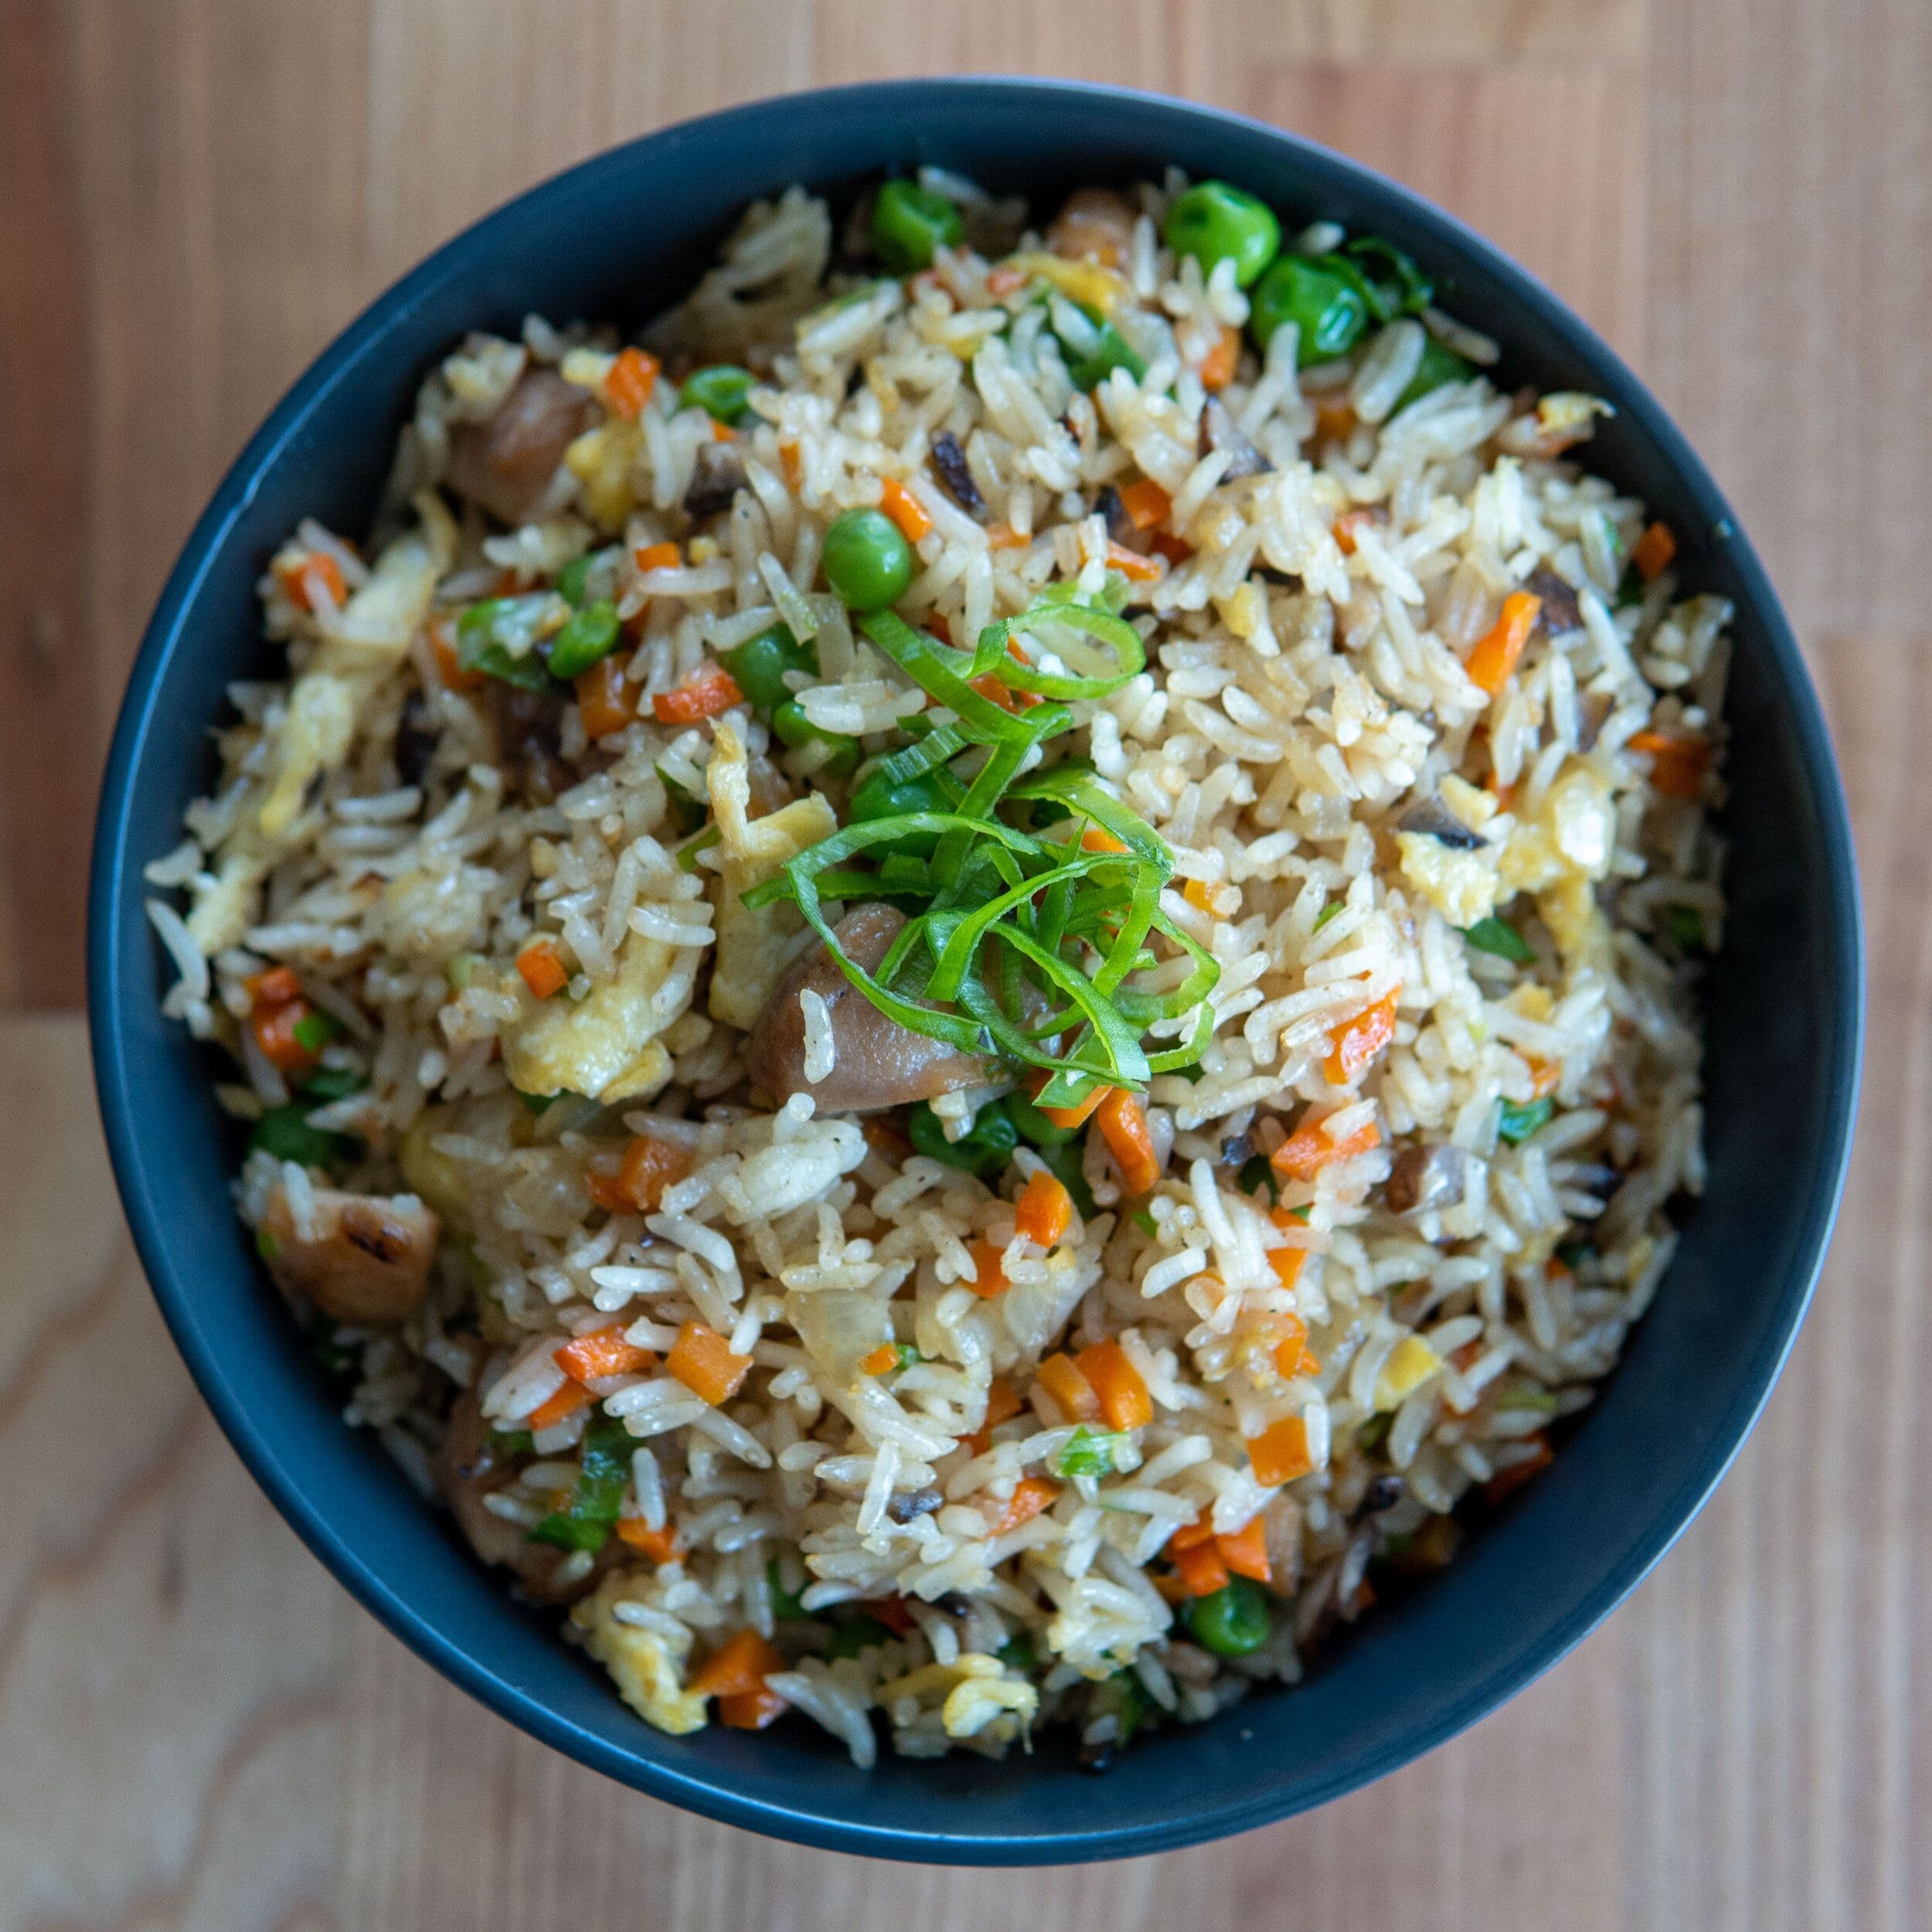
Restaurant Style Chicken Fried Rice
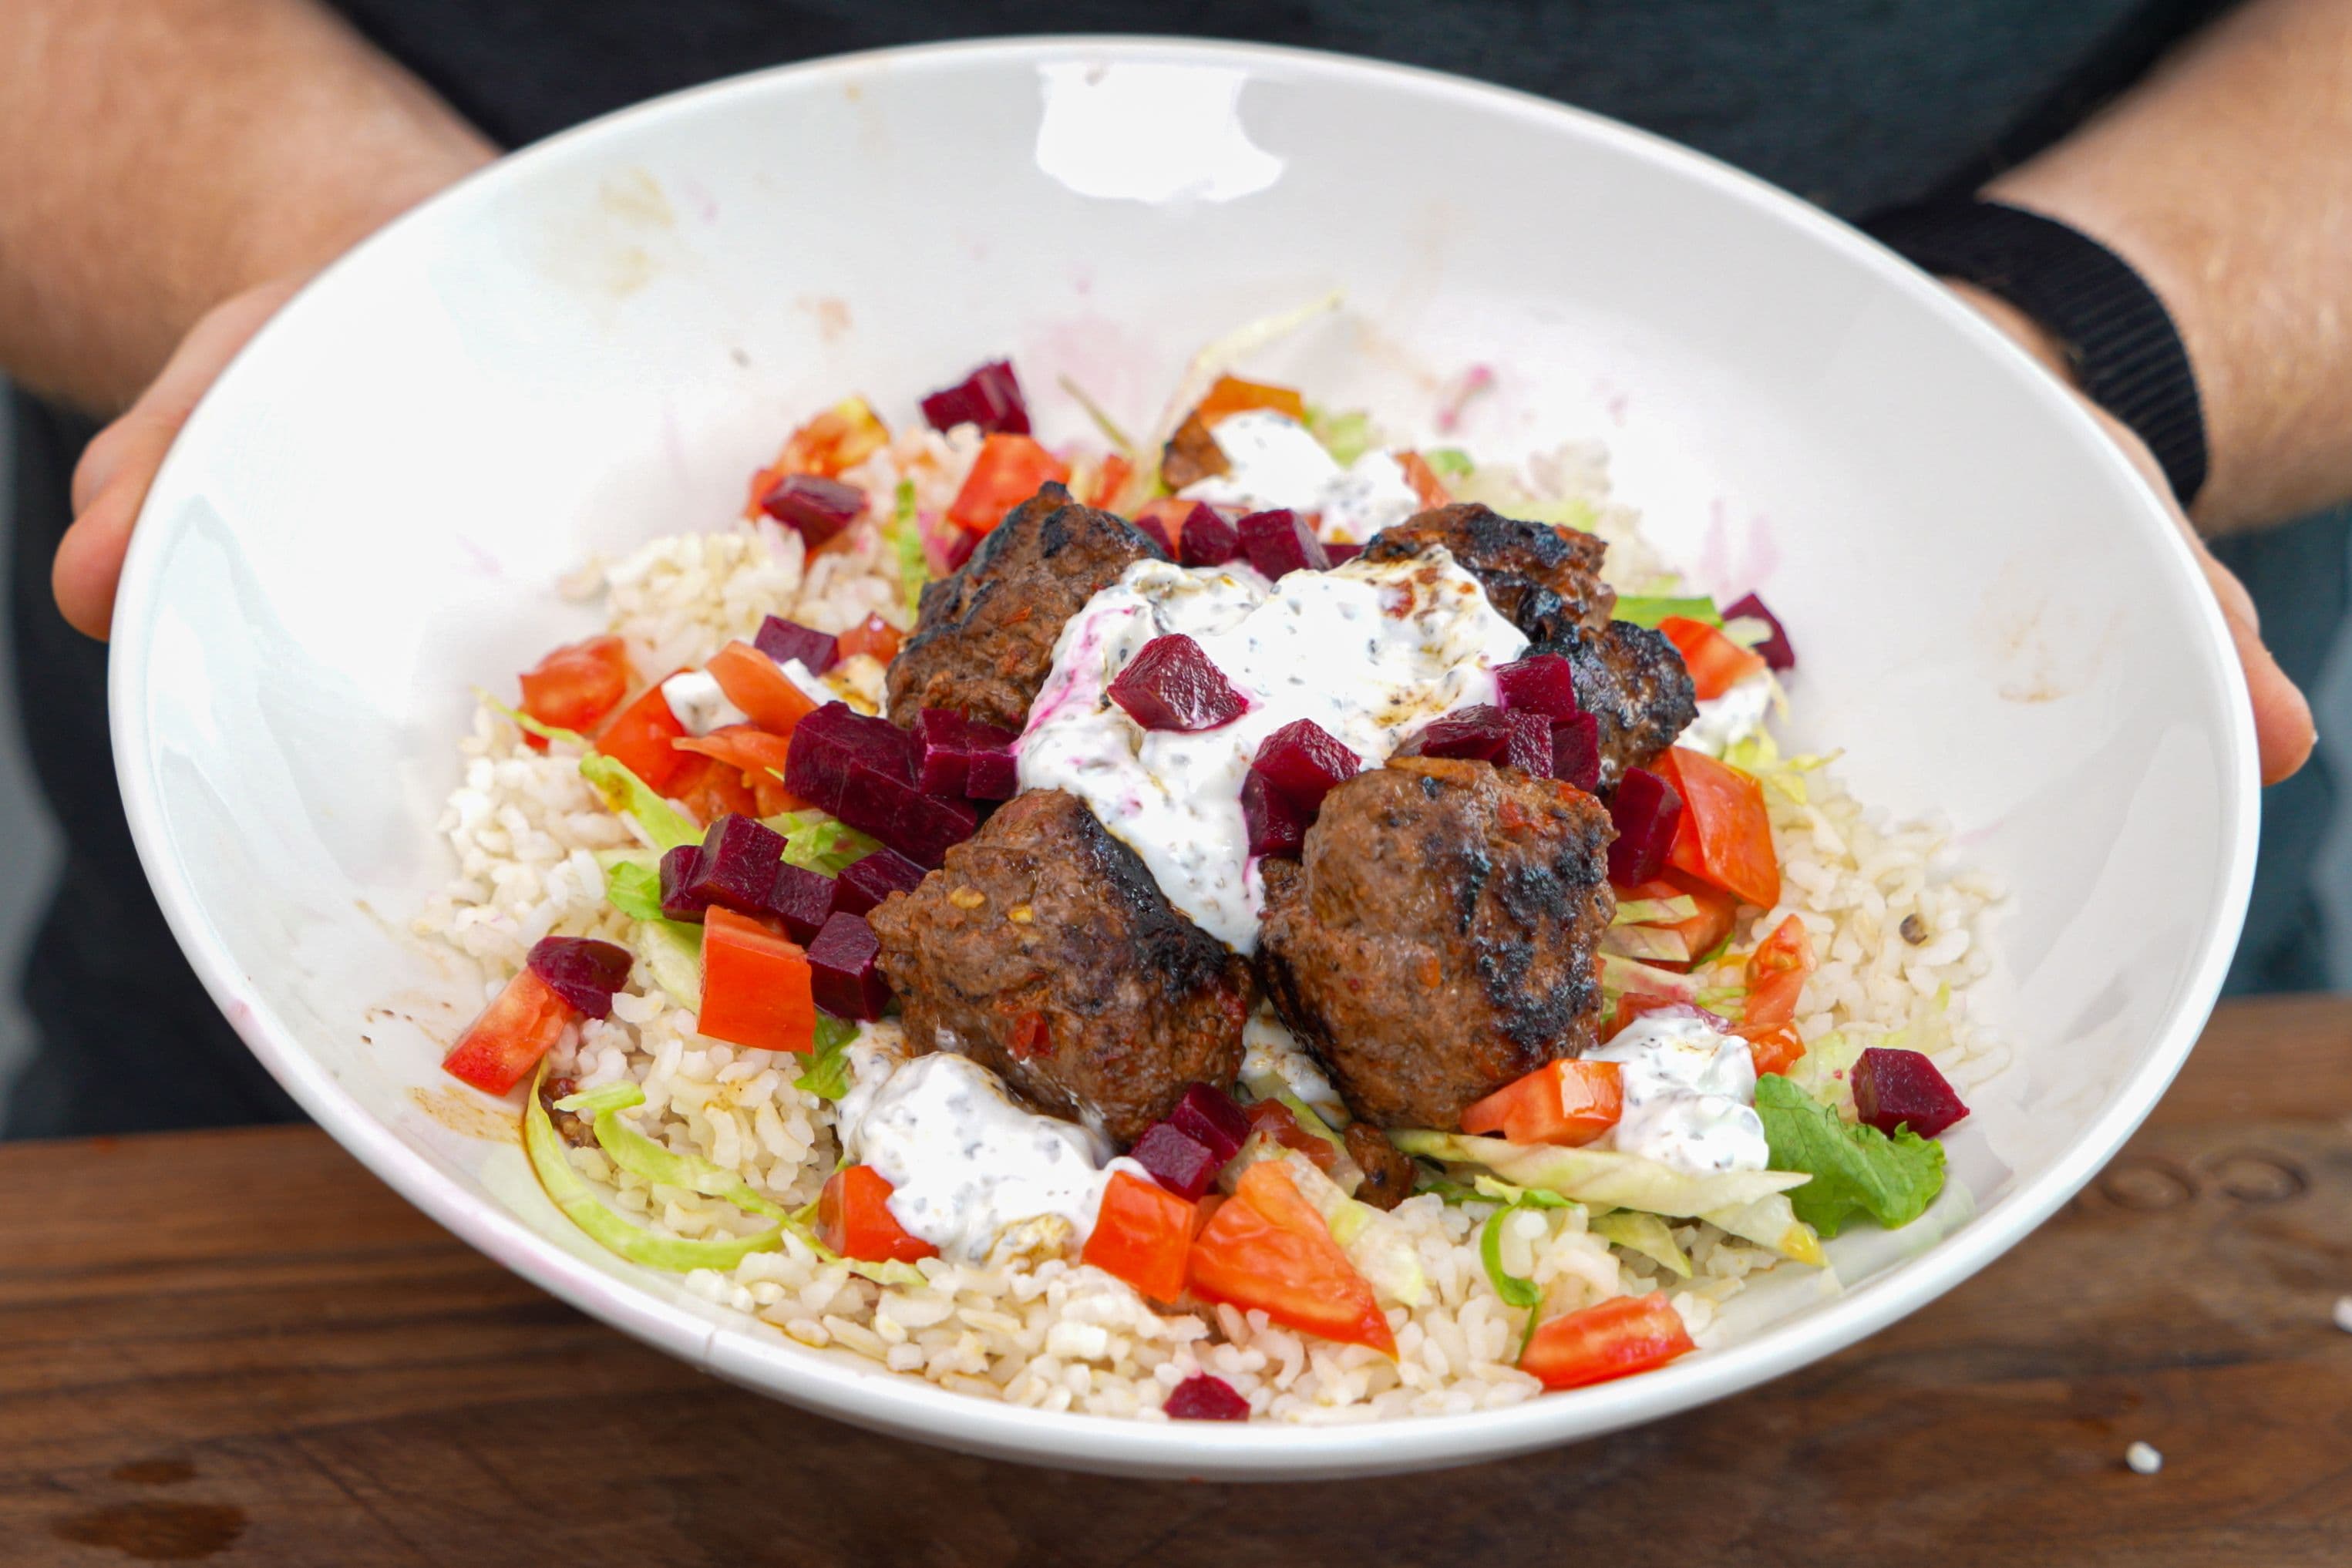
Spicy Garlicky Bison Meatball & Rice Bowl
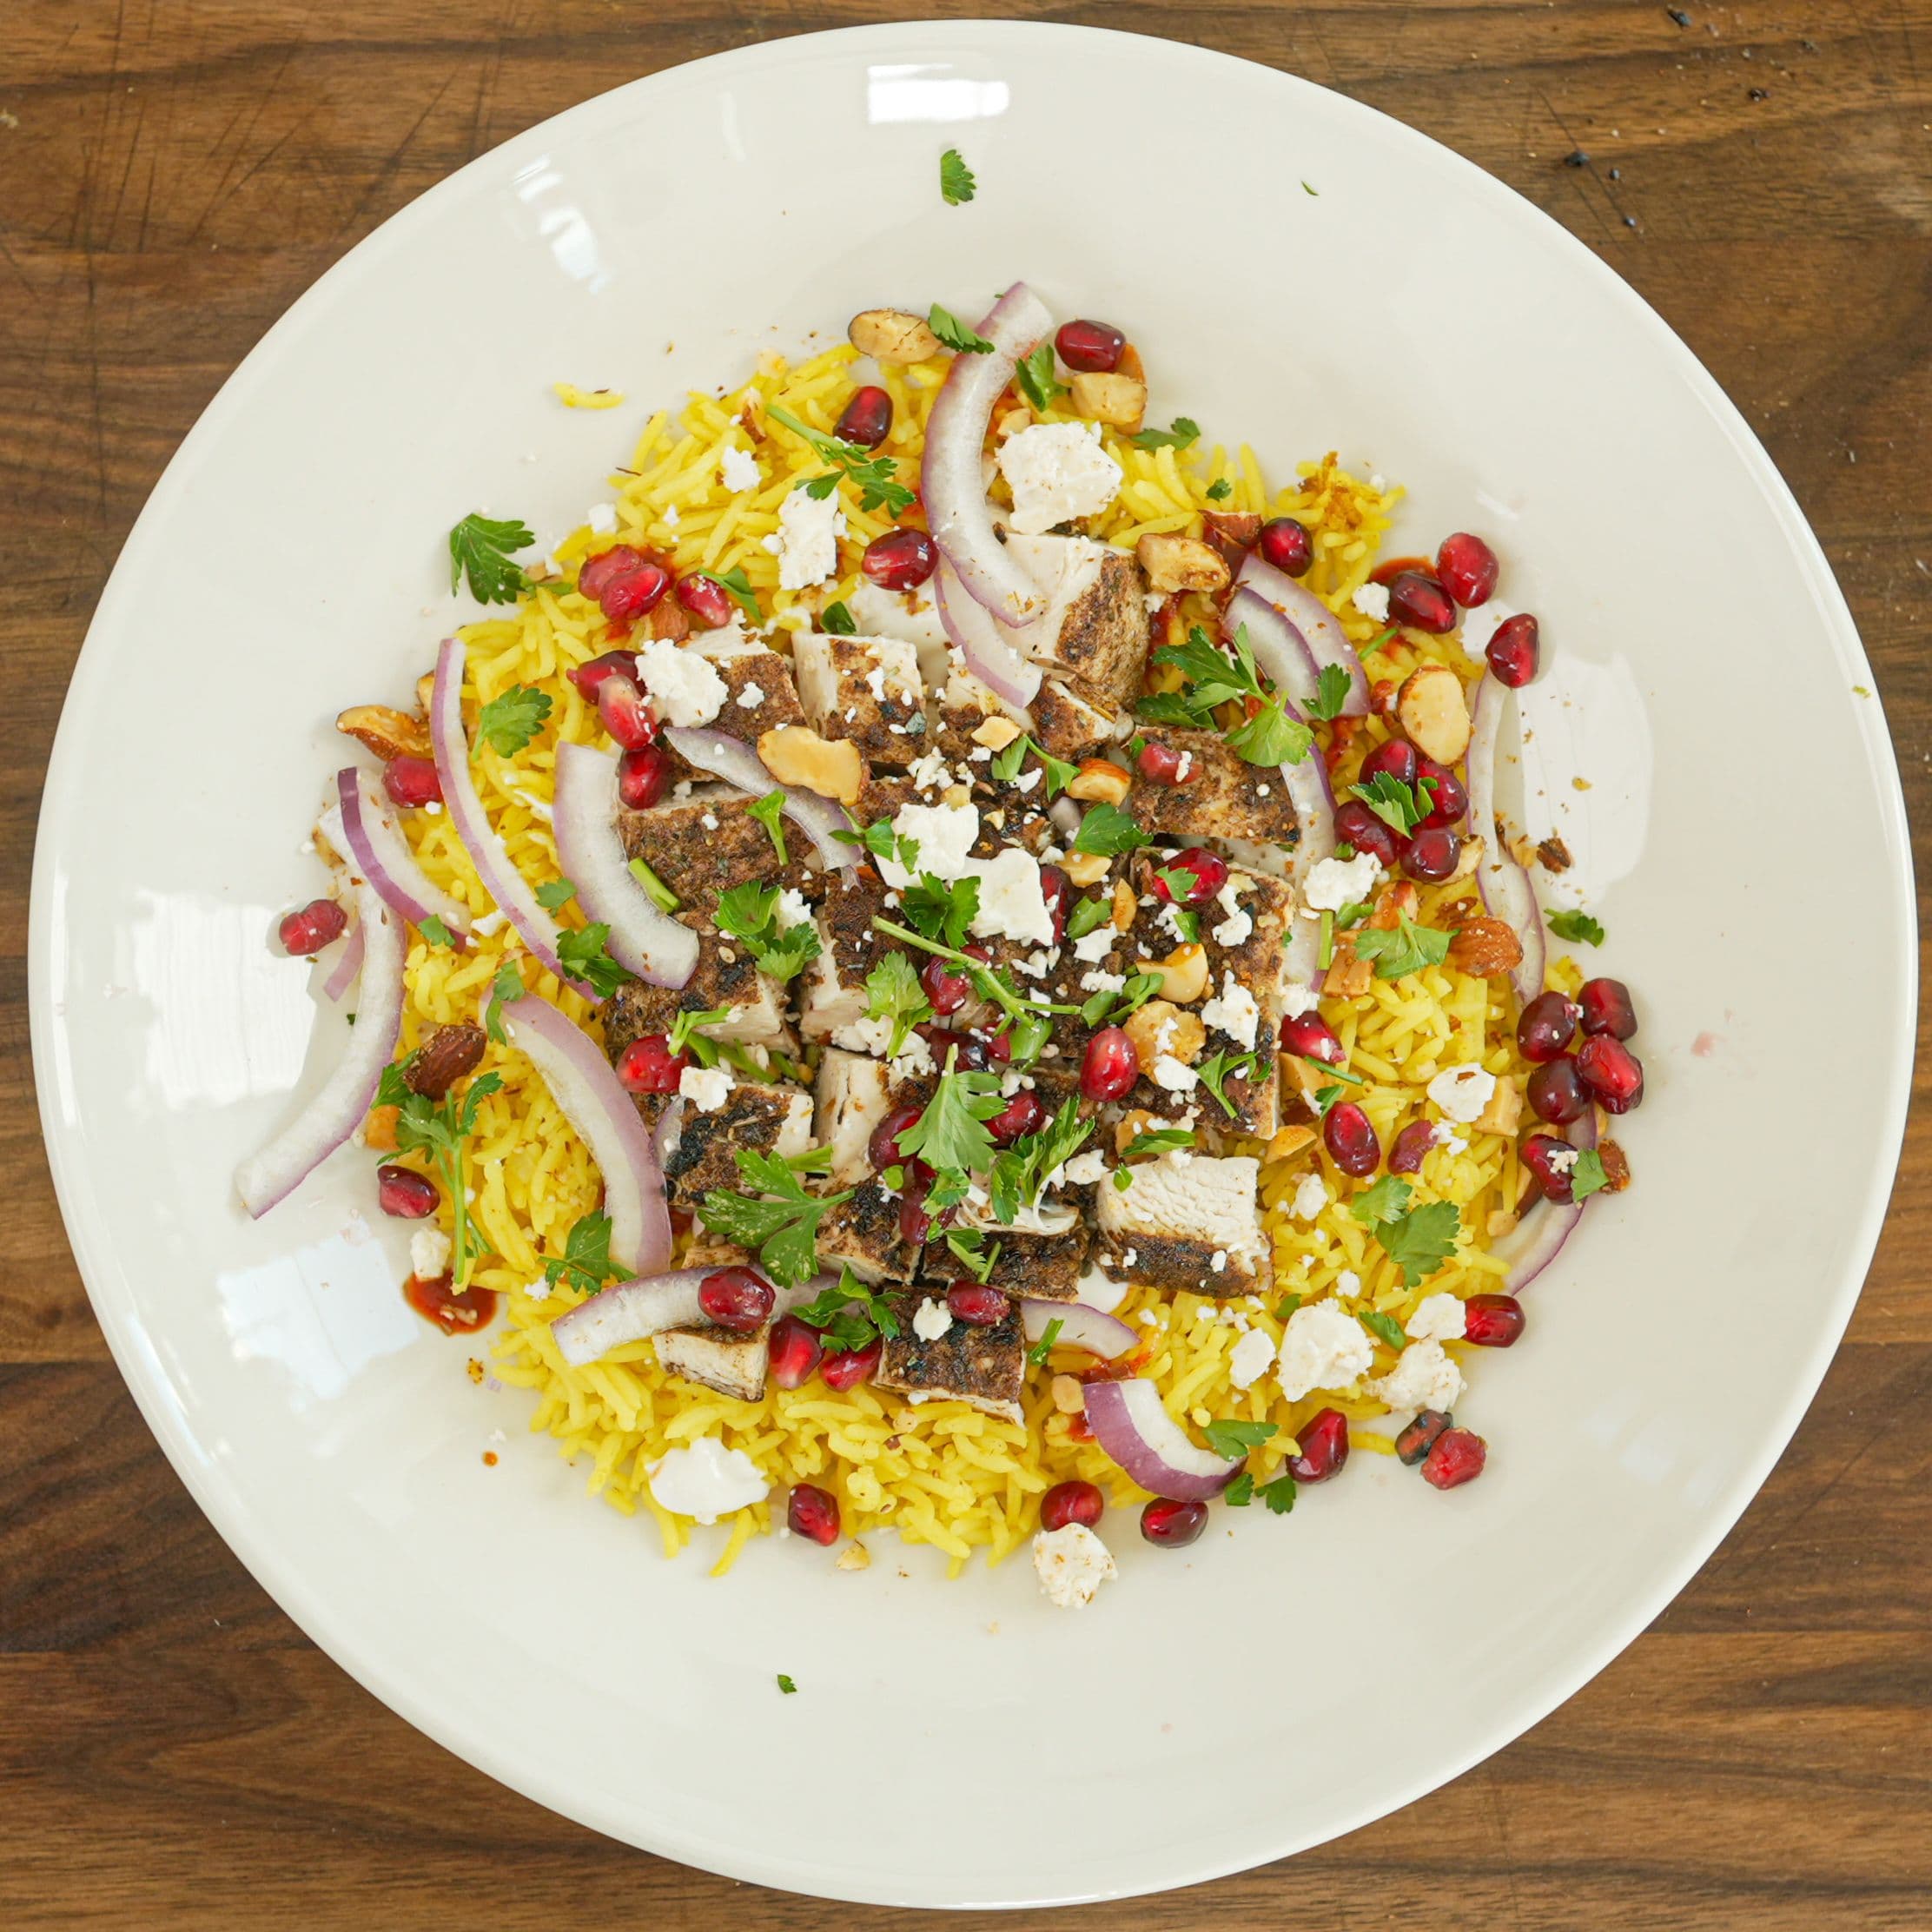
Za'atar Chicken & Rice Bowl with Pomegranate Seeds
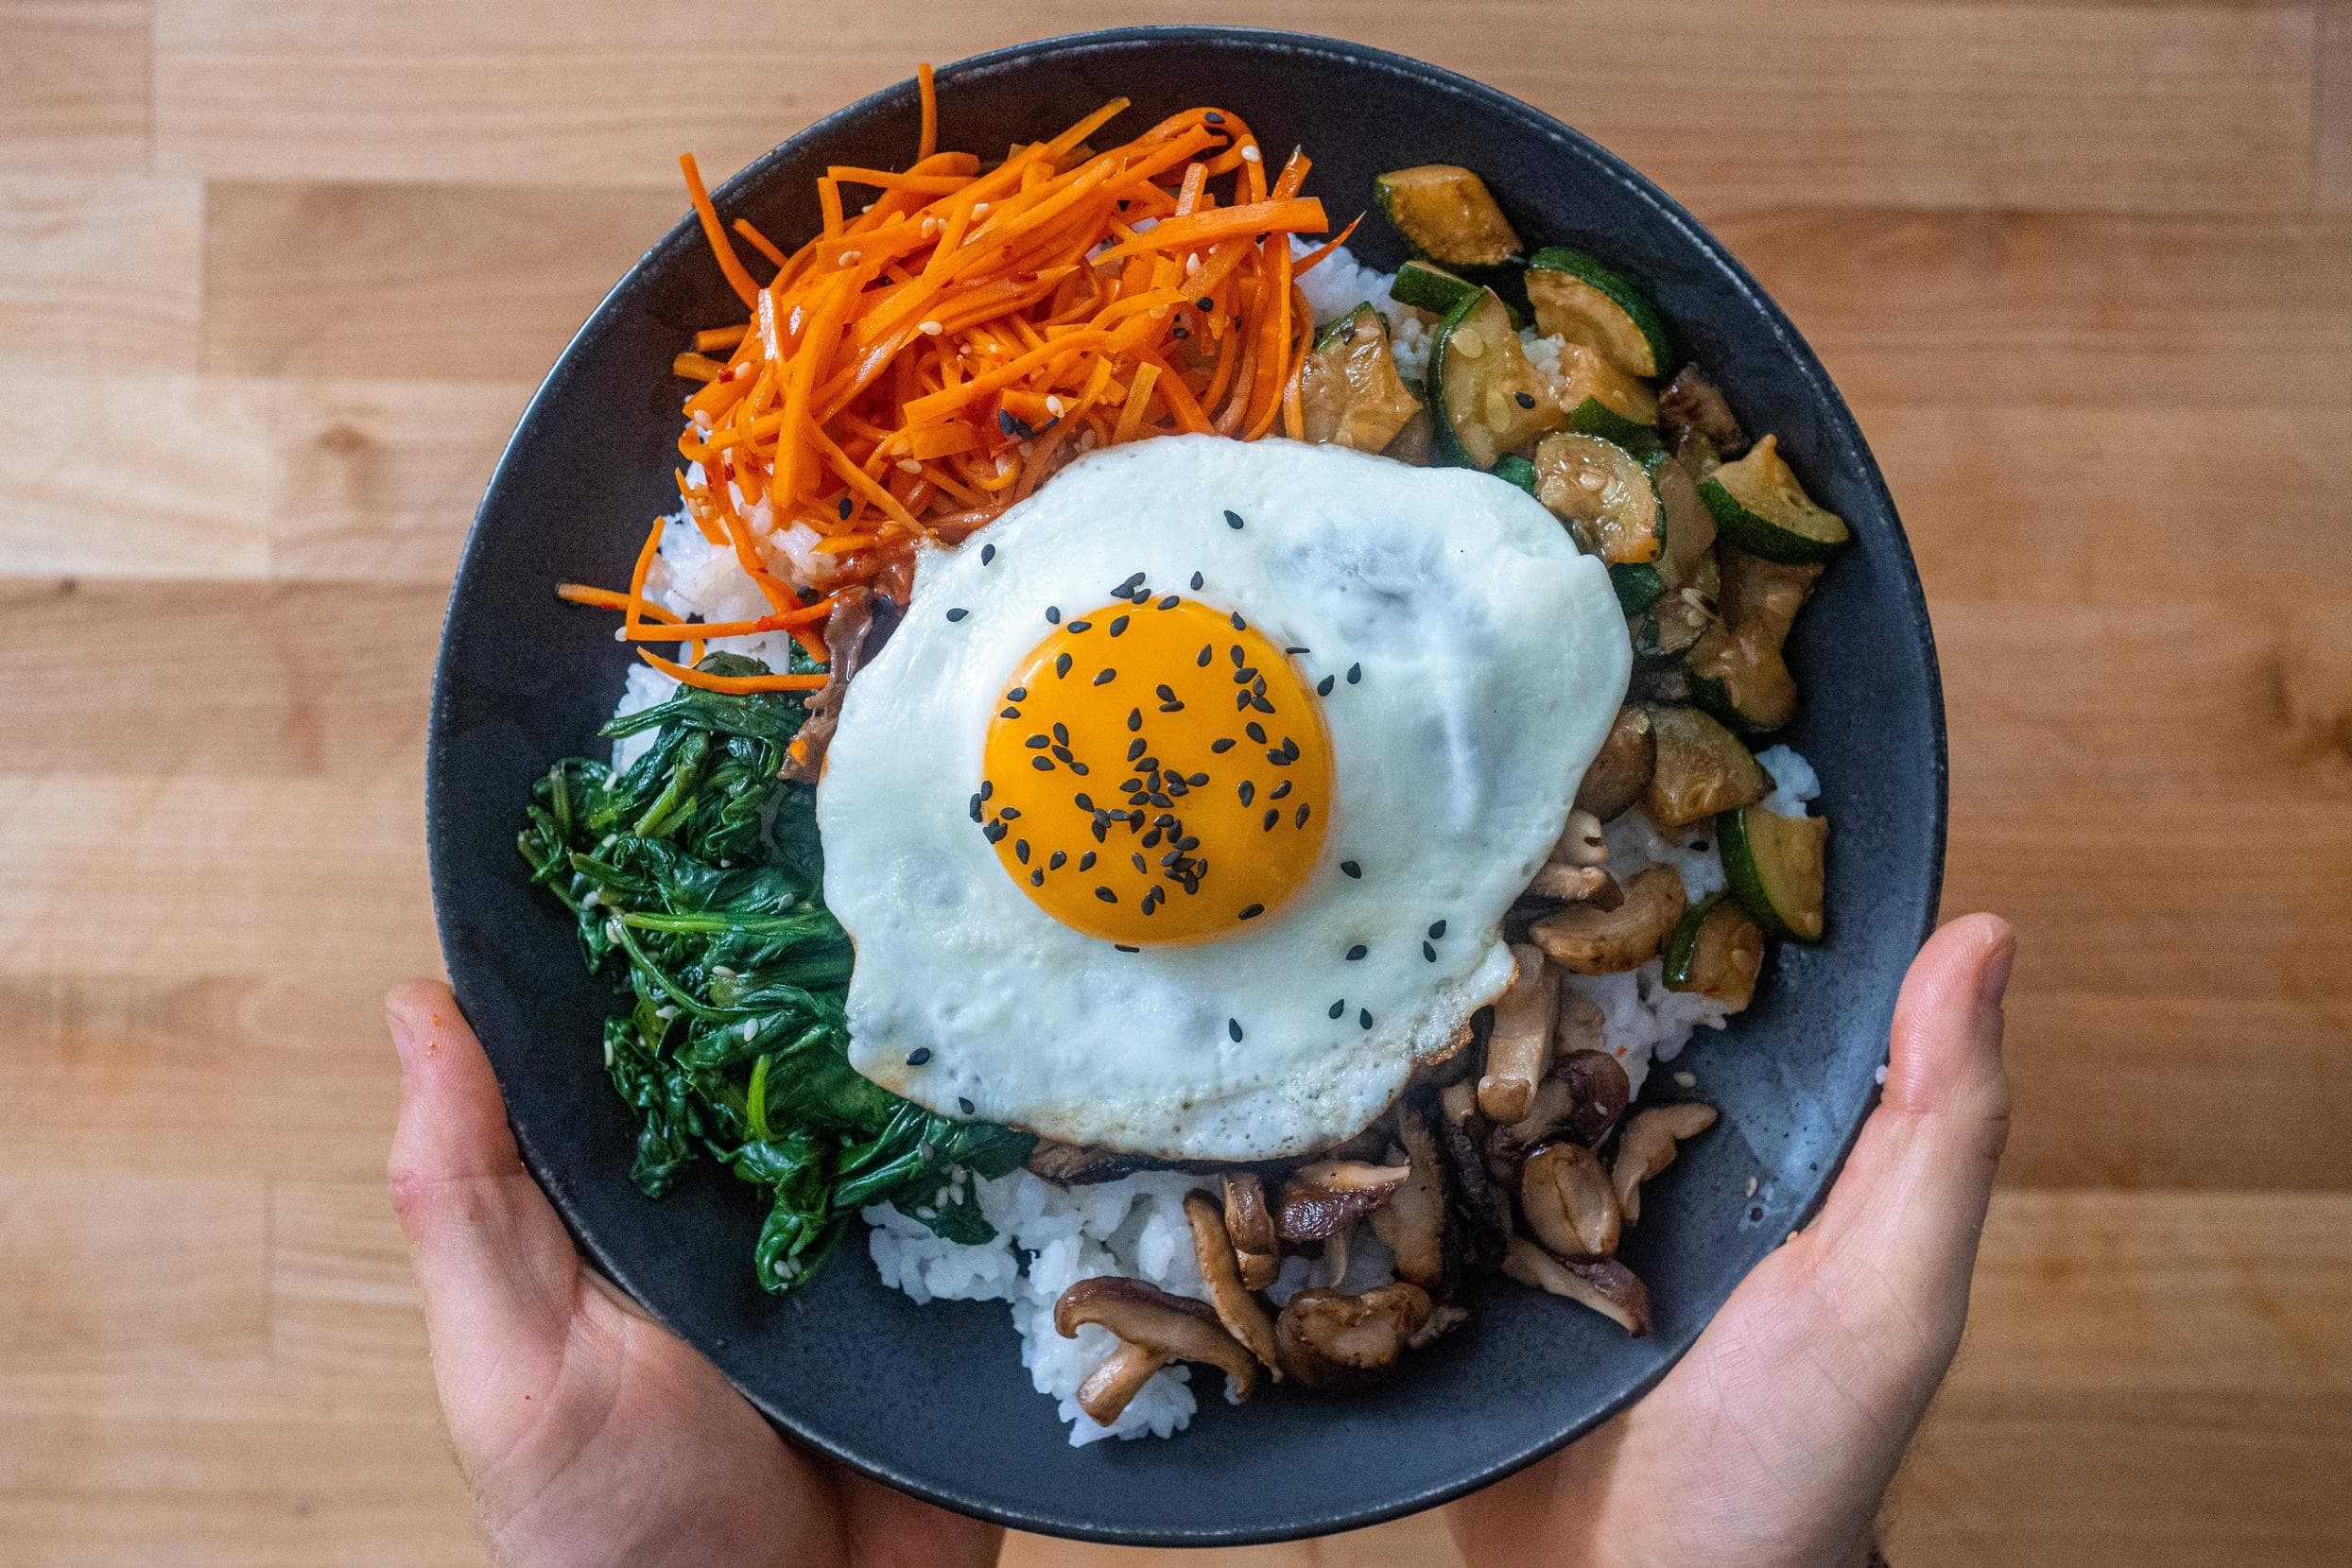
Bibimbap
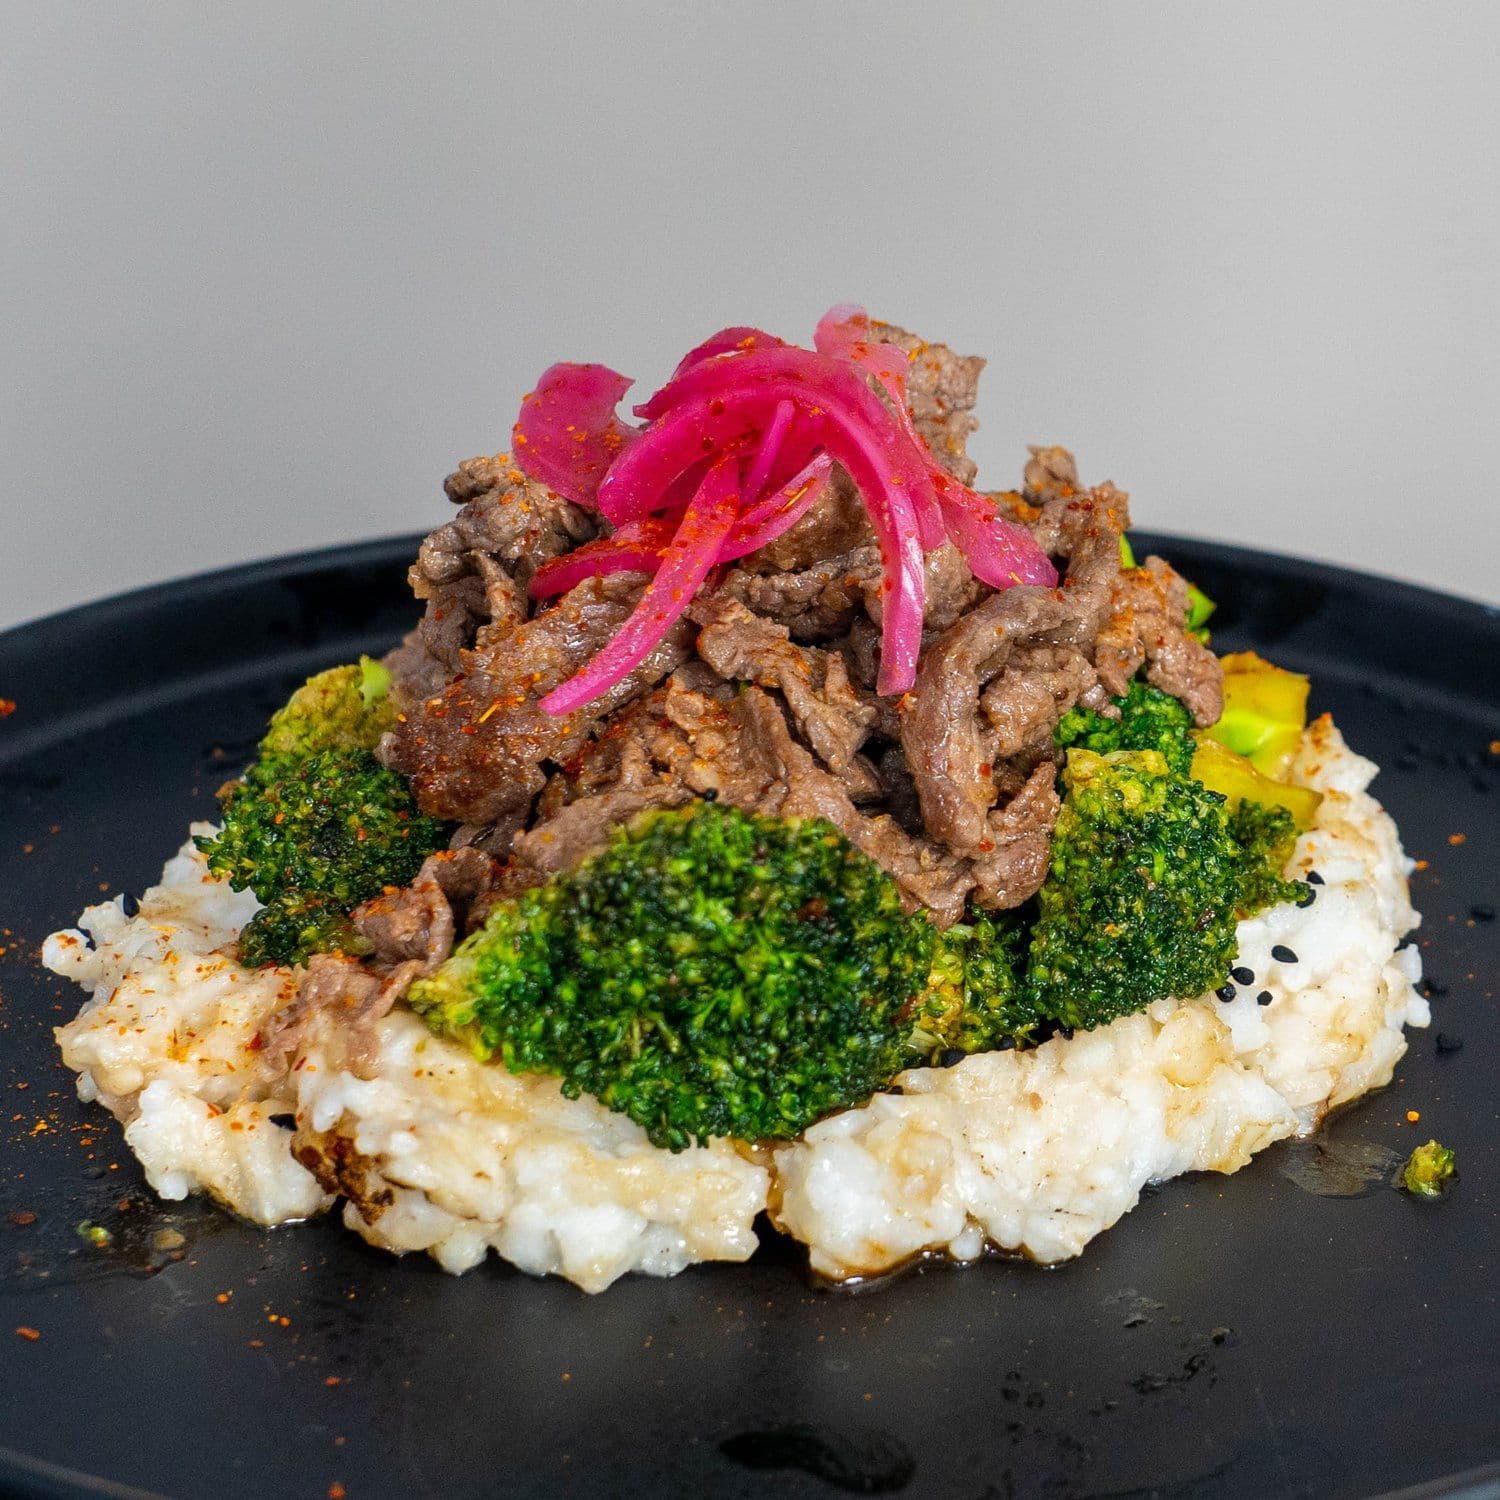
Ginger Beef & Broccoli
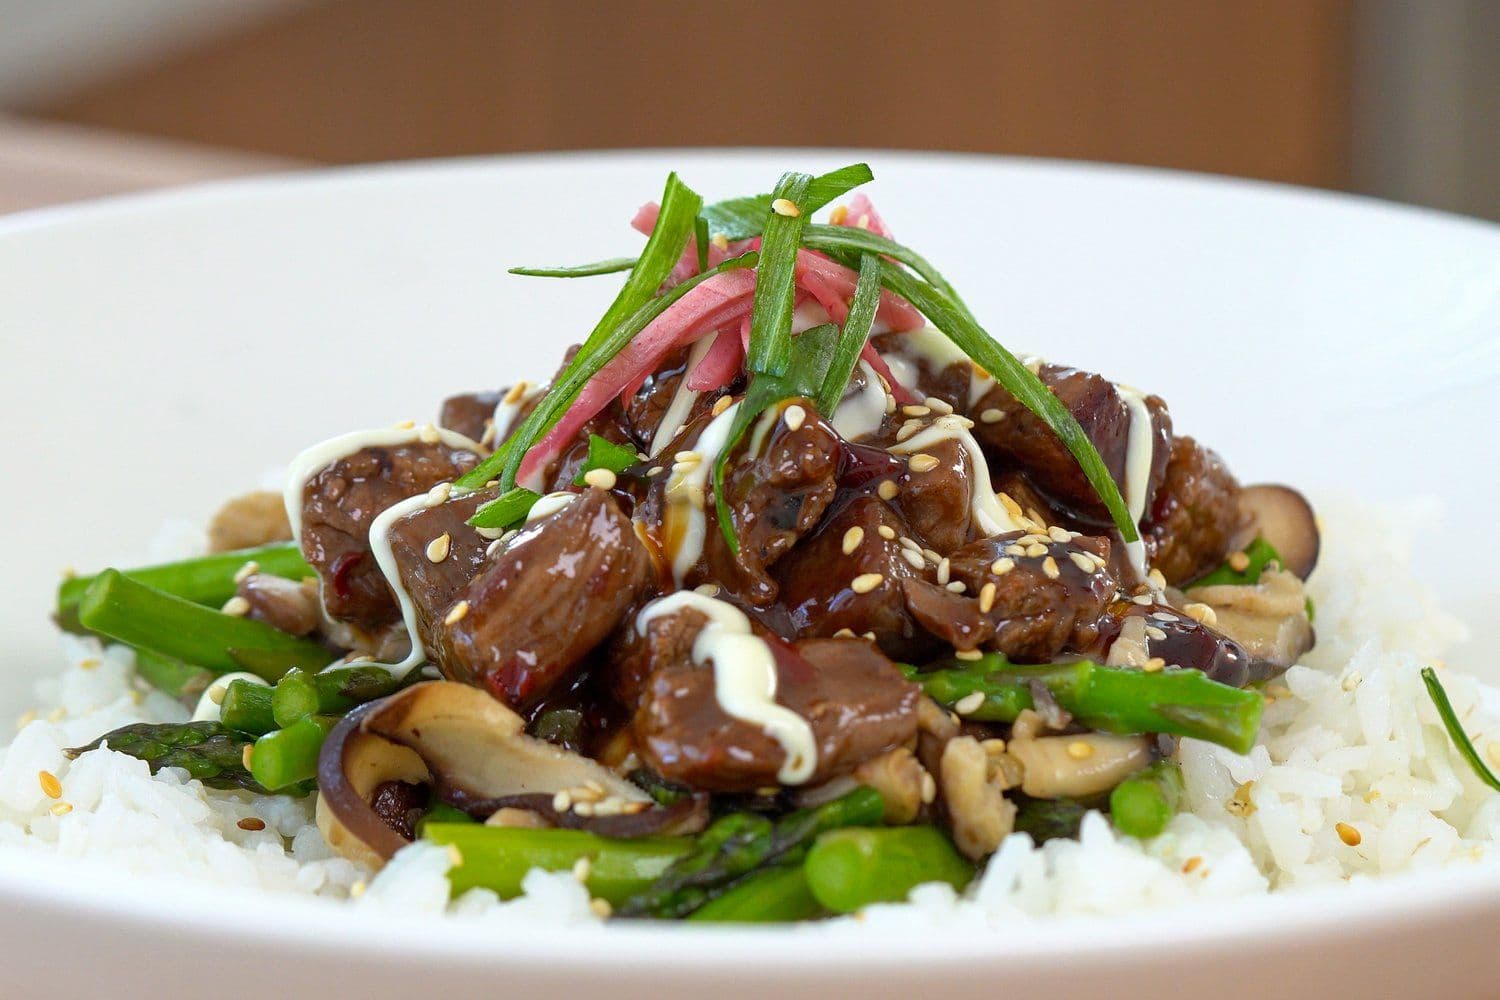
Steak, Mushroom, and Asparagus Bowl
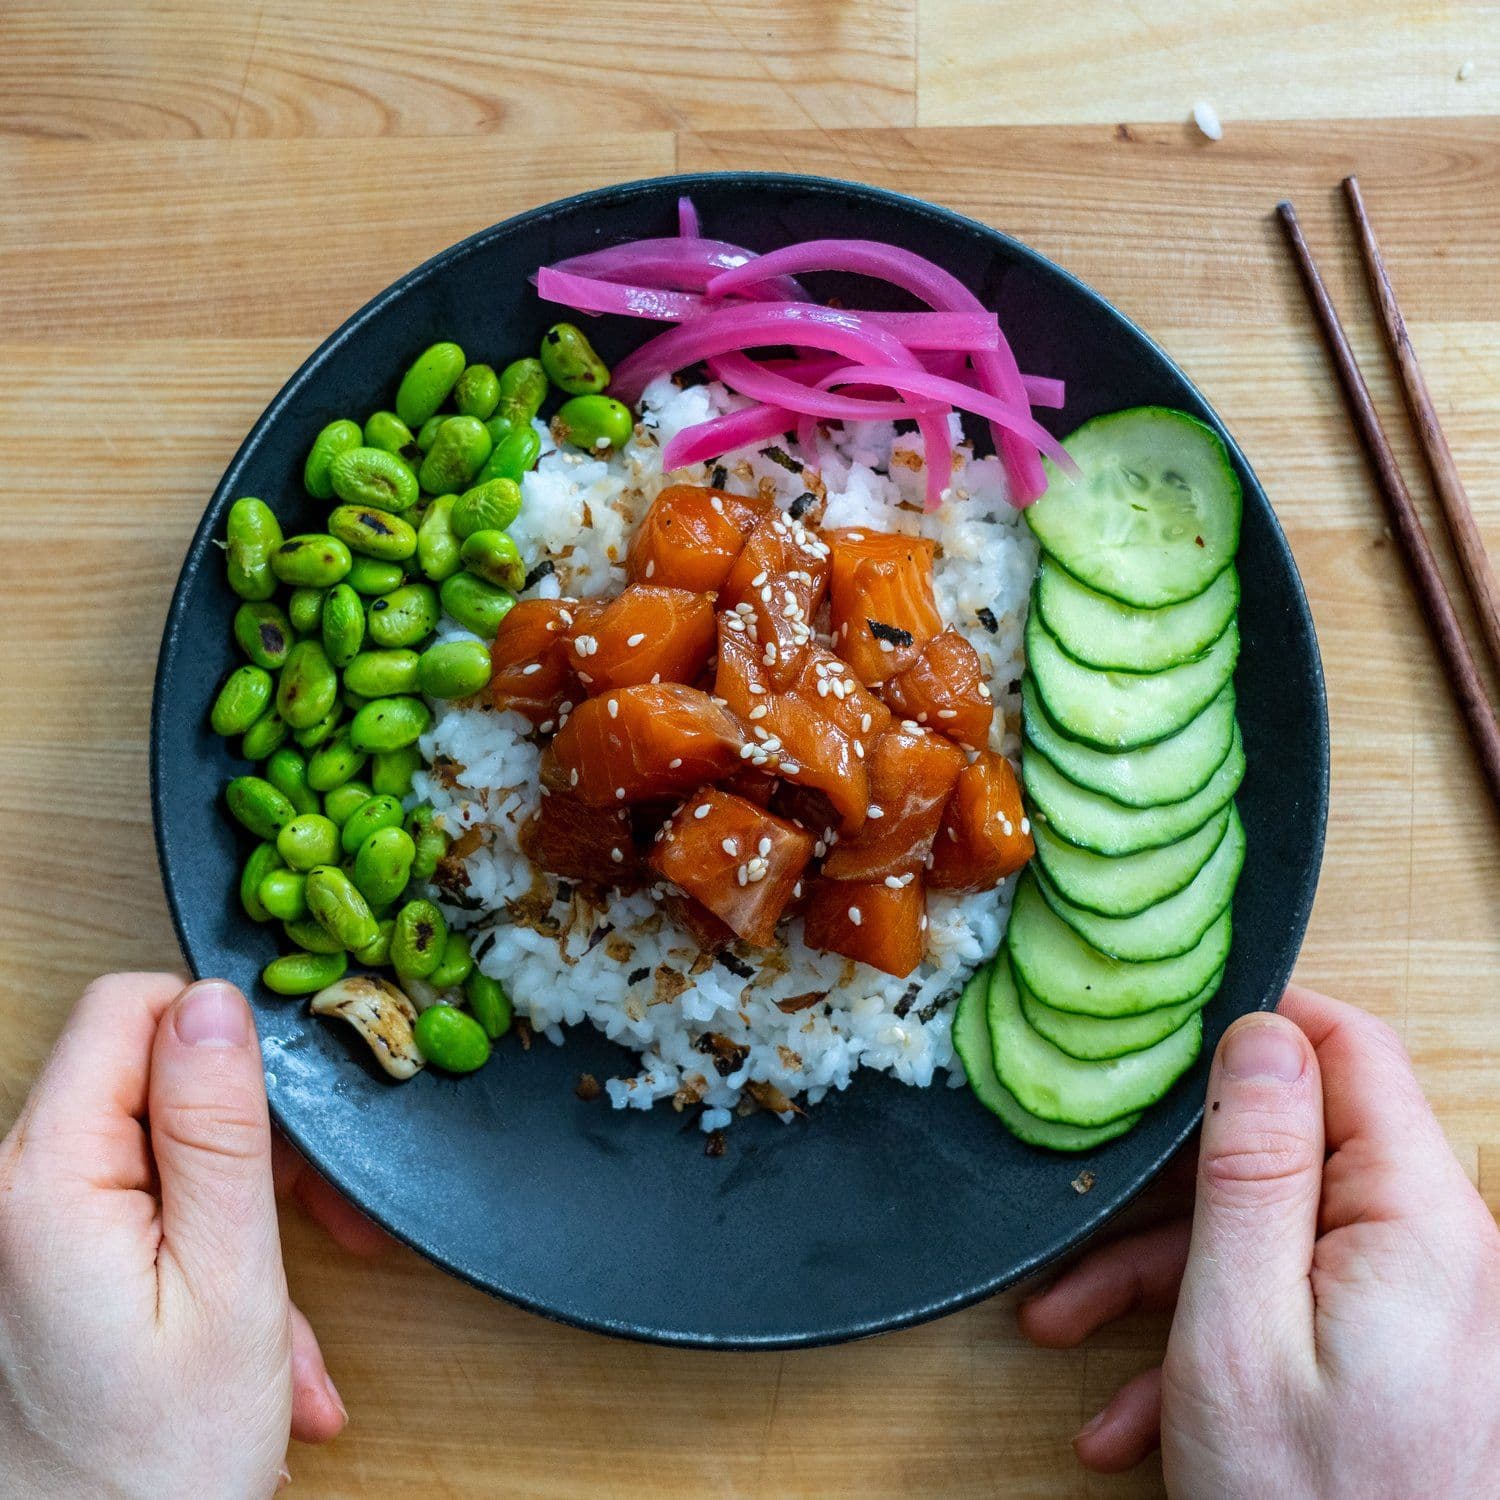
Salmon Edamame Poke Bowl
View Entire Collection
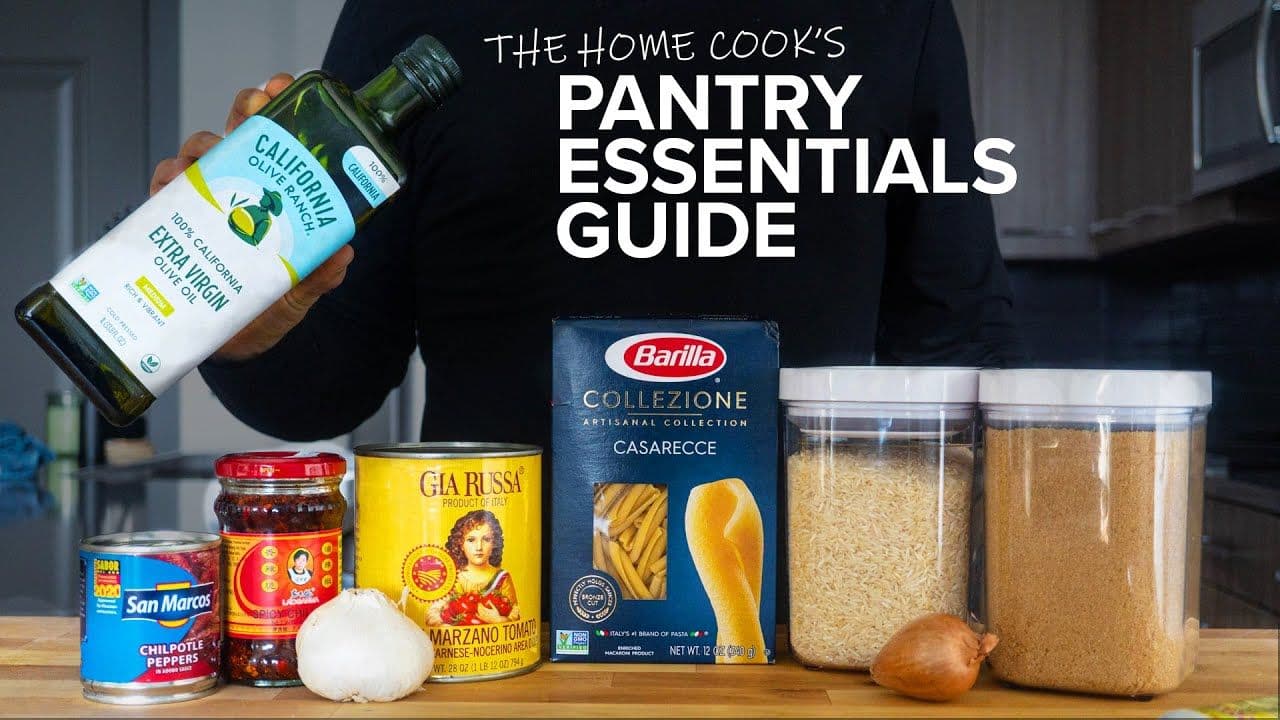
Free Pantry Guide
Join The Mouthful Newsletter to receive our essential pantry list pdf.
Just subscribe to our weekly newsletter where 60,000+ readers get lifestyle protocols, recipe frameworks, Q&A from expert home cooks, and cooking trends explained.
We hate spam too. Unsubscribe anytime.