Most brioche recipes will have you bust out the mixer, but with a little elbow grease, these can still be made by hand. You will need some foil to make ring molds for these buns.

Ethan Chlebowski
Ingredients
Dough
- bread flour300 g
- butter, softened113 g1 stick
- whole milk, warmed90 g
- eggs, beaten2~110 g
- sugar15 g
- instant yeast5 g
- salt6 g
Egg wash
- water15 ga spoonful
- eggs1
Topping options
- sesame seeds
- poppy seeds
- flaky salt
Method
Step 1: Activate the yeast
Warm the milk in the microwave to roughly ~100°F/37°C, usually about 20-30 seconds. Add the beaten eggs, sugar, and instant dry yeast to the warm milk. Stir to combine. Set aside and let the yeast activate for 5-10 minutes.
- Note: Proofing is done to test the viability of the yeast. If there is no foam surface or little bubbles the yeast is likely dead and should be discarded.
Step 2: Start the dough
Add the bread flour and salt to a large mixing bowl. Pour in the yeast mixture and work the dough with your hands until a cohesive mass forms and no dry flour remains in the bowl. Cover the bowl with plastic wrap and let rest for 30 minutes.
- Note: Letting the dough rest will allow the flour to hydrate which is what causes gluten development. This will make the dough easier to work with when we add the butter.
Step 3: Work in the butter & knead
Cut the softened butter into small pieces. Turn the rested dough onto a work surface and add the butter on top. Work the butter into the dough by hand by cutting with a bench scraper, and pushing the dough down into the work surface with the heel of your hand.
- There will be butter everywhere at first, but just keep working it until it combines. It will take a good 10 minutes or more.
Once the butter is combined, start the dough until it is completely smooth and no longer sticky, another 5-10 minutes.
- You can also incorporate the butter and knead with a stand mixer if you have one.
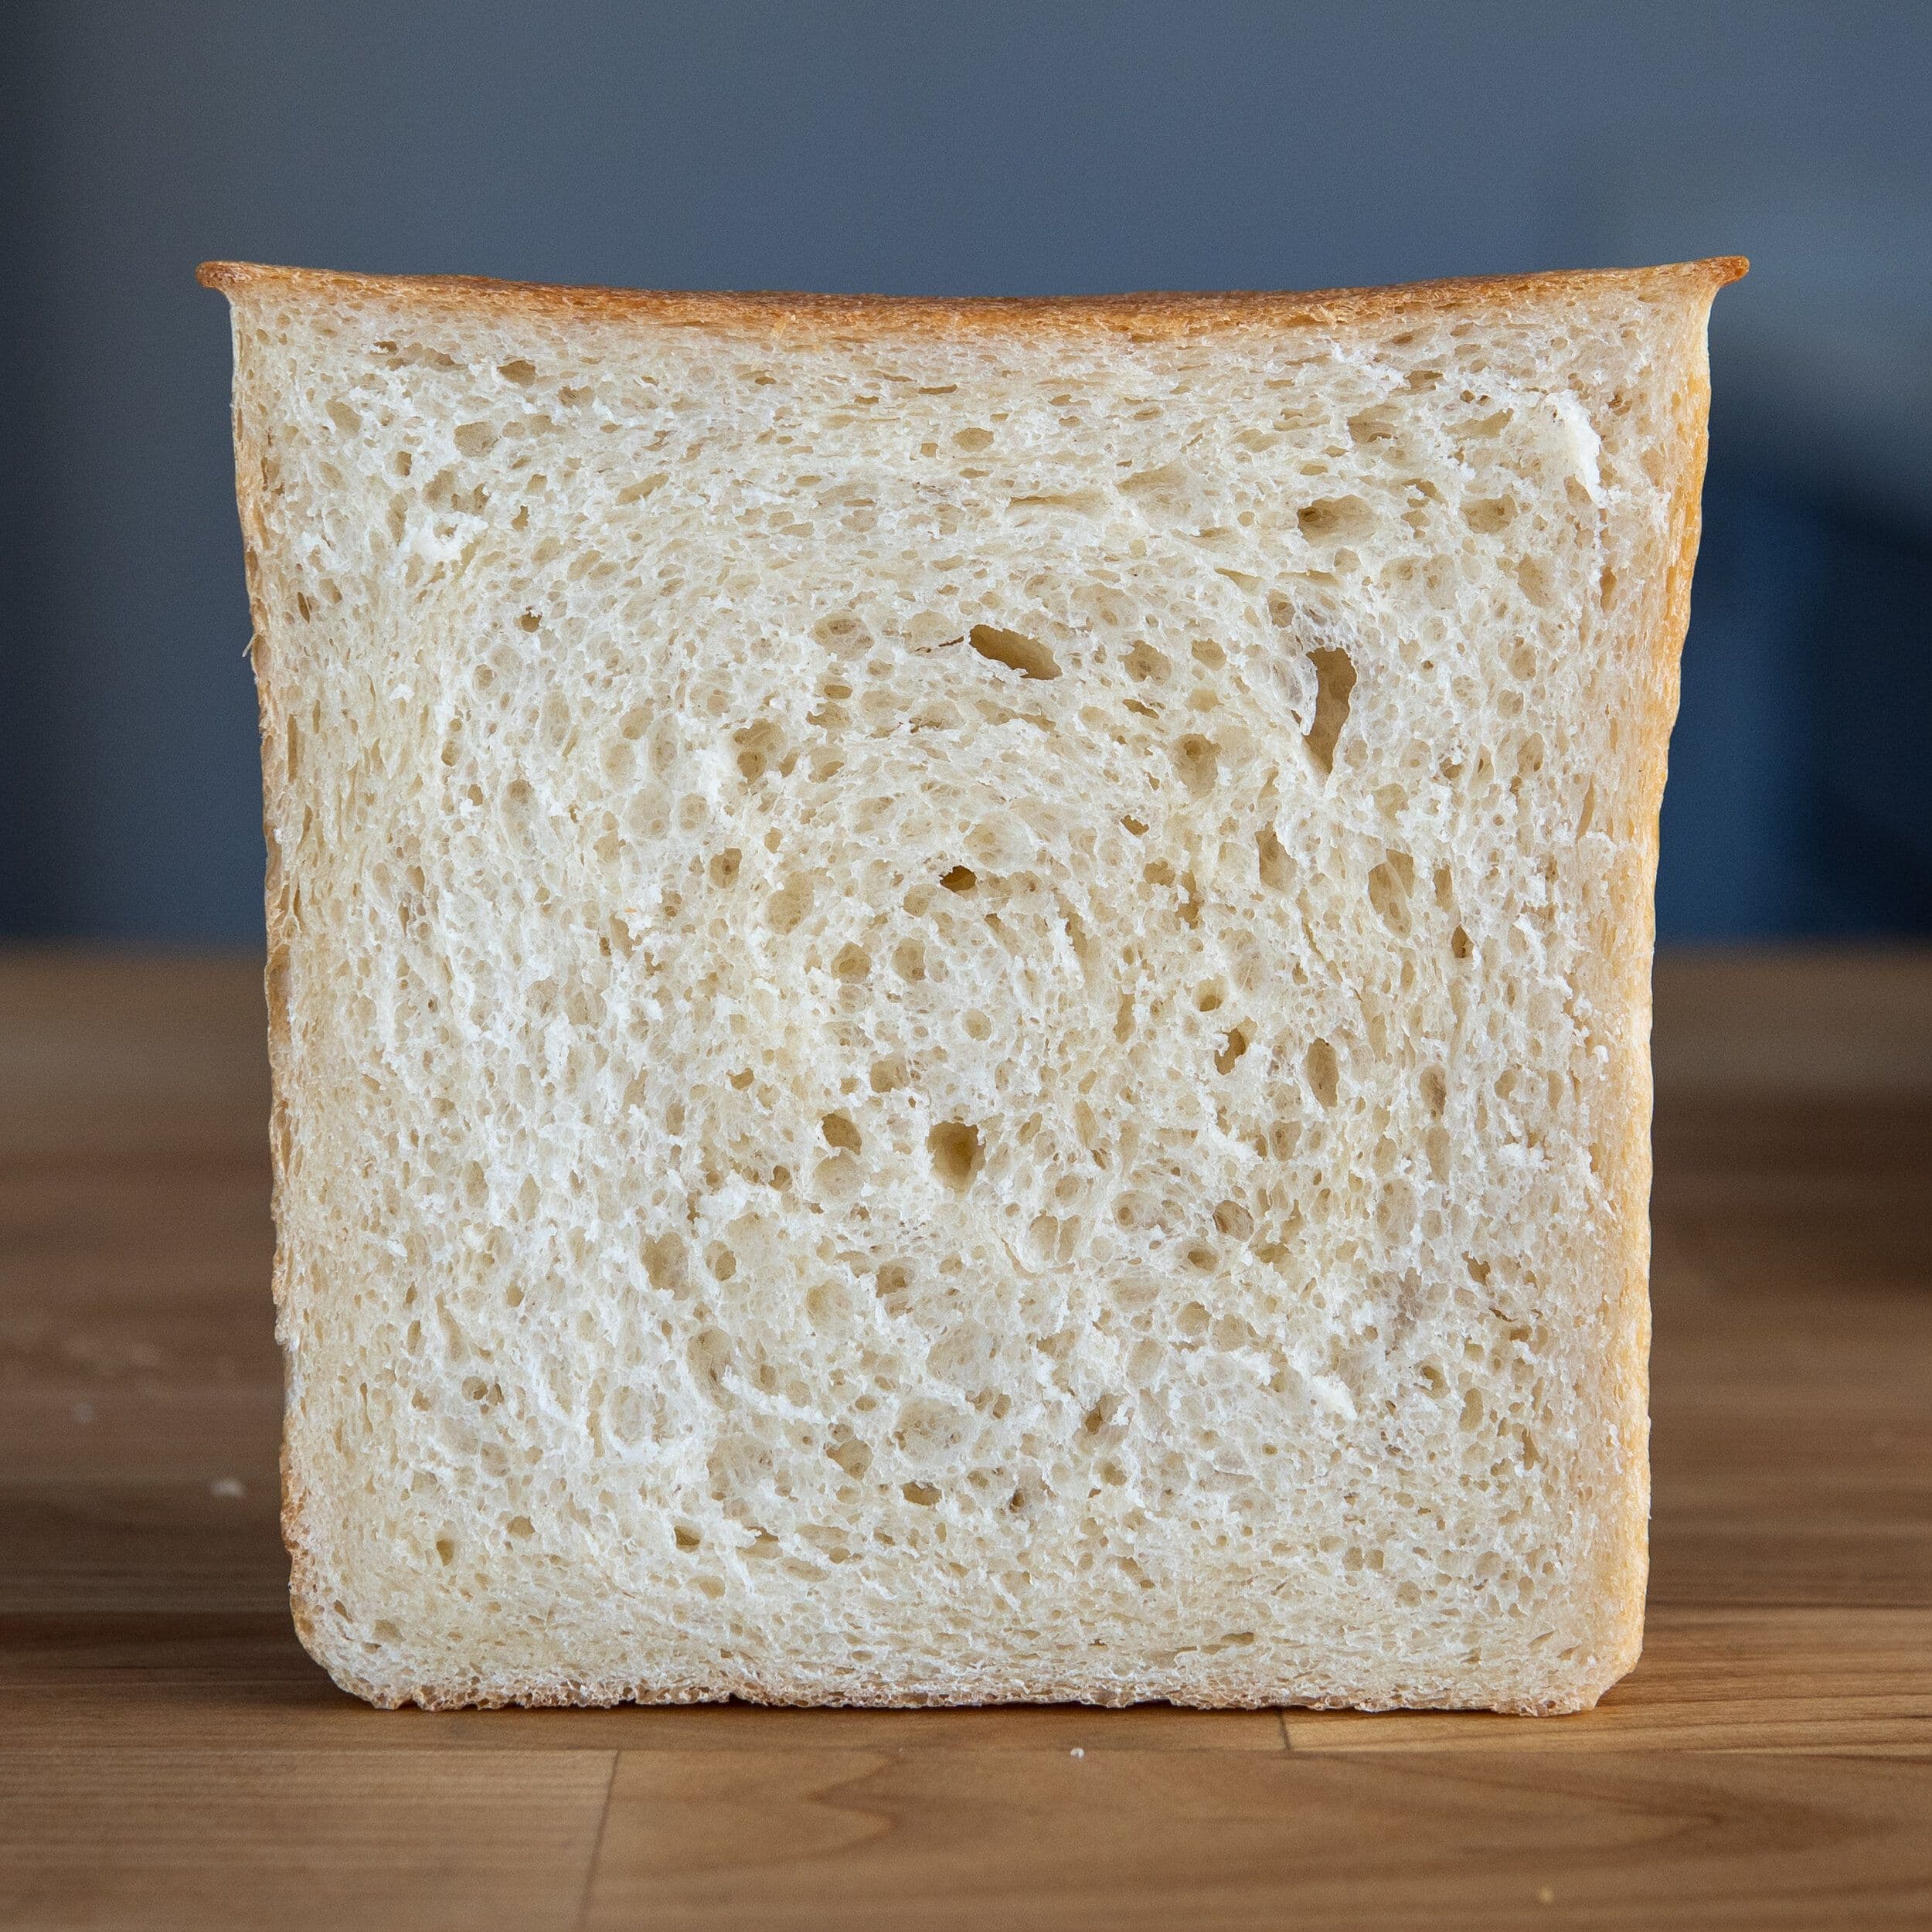
The dough is done when a gluten window can be made; pull off a small piece of the dough and perform the : see if it can be gently stretched until slightly translucent.
- The gluten window test is the key to understanding if the flour has been hydrated enough. If the dough tears before getting to a translucent window, keep kneading. See the video for an example.
Step 4: Proof the dough and make the ring molds
Once done , grease the mixing bowl and add the dough. Cover with saran wrap and let rise until doubled about 60-90 minutes. While the dough is rising, prepare foil ring molds. Fold pieces of tin foil into a thin strip about 3/4" (2 cm) high. Form the strip into a circle and staple it together.
- Note: I used a 12” (30 cm) strip of foil to create a 3.75” (10 cm) diameter circle. See the video for a visual guide to this step, if needed. Lay the molds on a parchment-lined baking sheet and lightly grease with cooking spray.
Step 5: Shape & proof again
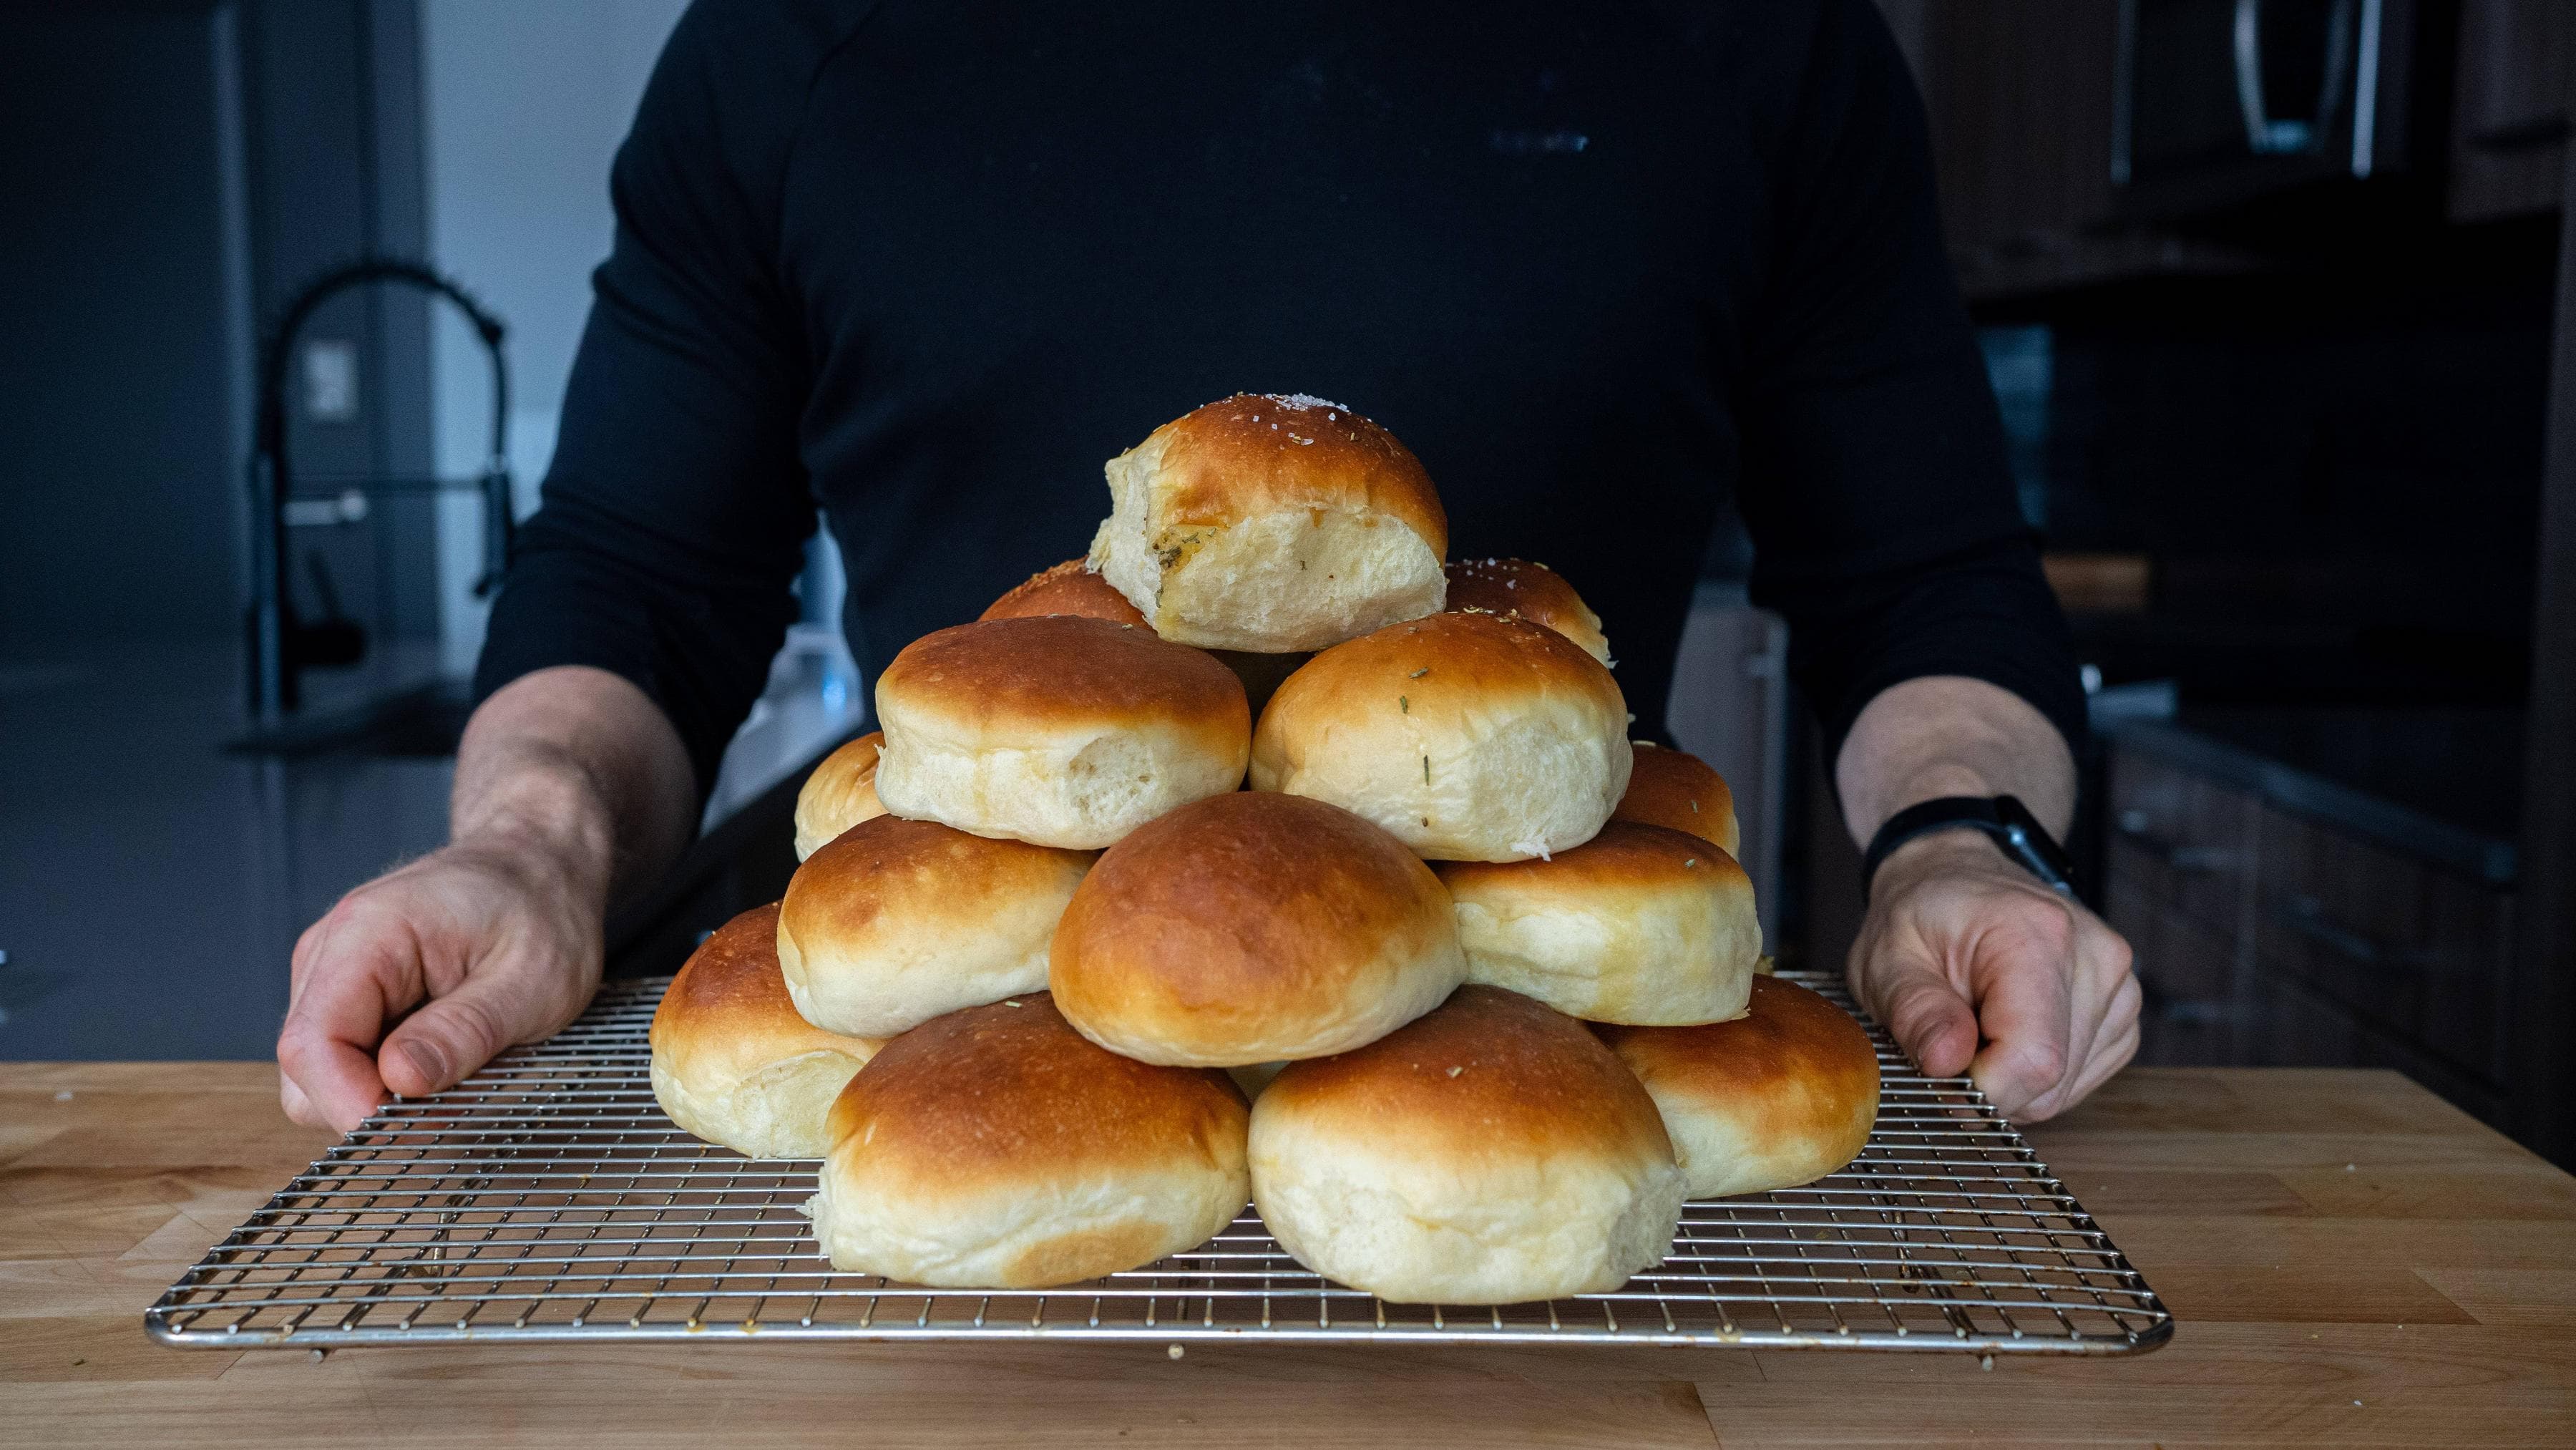
Once proofed, punch the dough down and portion it into 6, ~100-gram pieces. Work each piece into a tight ball with your hands.
Place a ball in the center of each mold and gently press down with a bowl or your palm to spread the dough out a bit in the mold.
Cover with an inverted baking sheet or plastic wrap and let buns rise until doubled in size or fully expanded into the ring molds, about 1.5-2 hours.
During the last part of proofing, preheat an oven to 350°F/176°C.
Step 6: Egg wash & bake
Prepare the egg wash by vigorously beating 1 egg yolk and some water in a bowl until combined. Gently brush the egg wash over each of the buns.
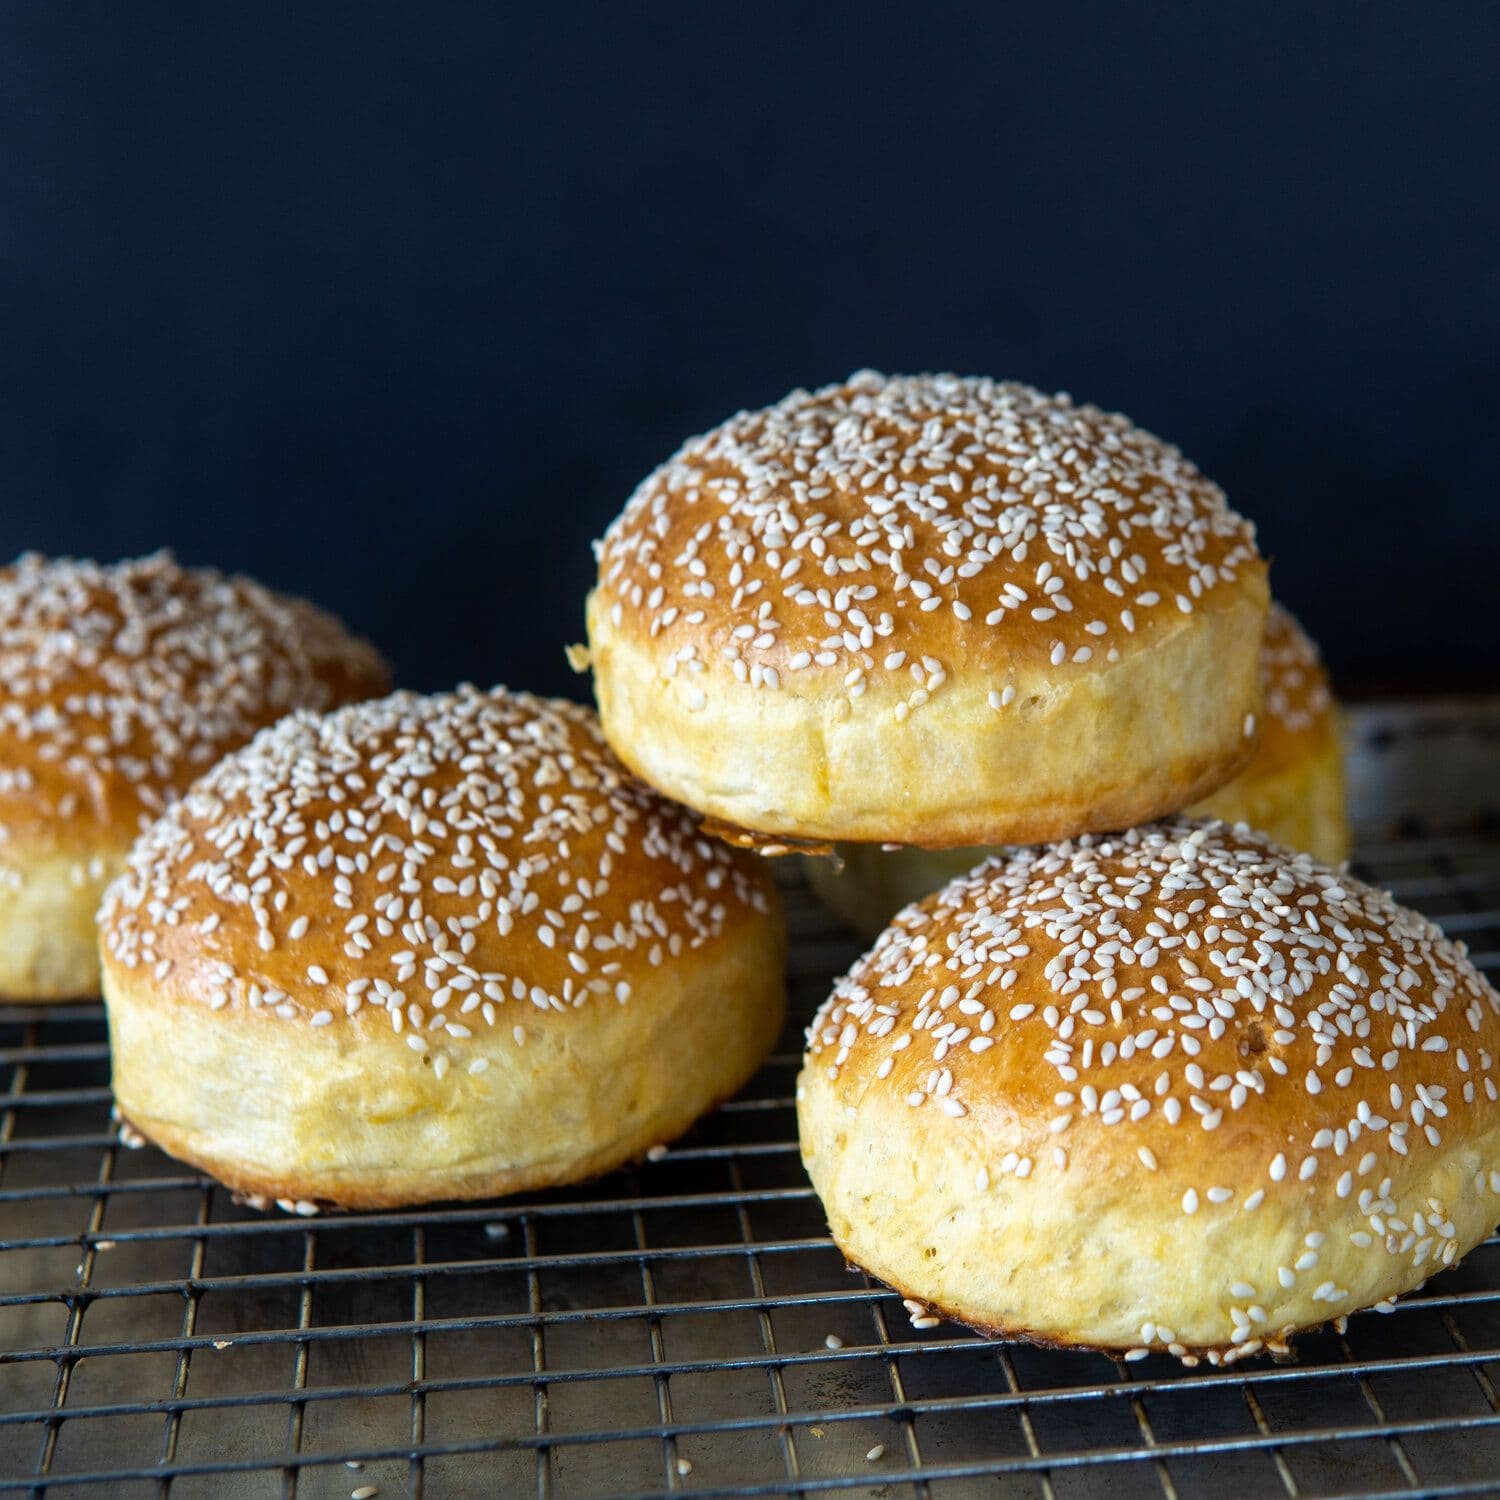
Sprinkle the sesame seeds over the top so they stick to the bun.
in the preheated oven for 20 minutes or until the buns are browned and have an internal temperature of 203°F/95°C (this will ensure the inside is cooked.) Let the buns cool completely.
- Note: These can be stored in a ziplock bag for 1-2 days until use. They’ll soften up a bit over time. After a few days, it's best to freeze any extra.
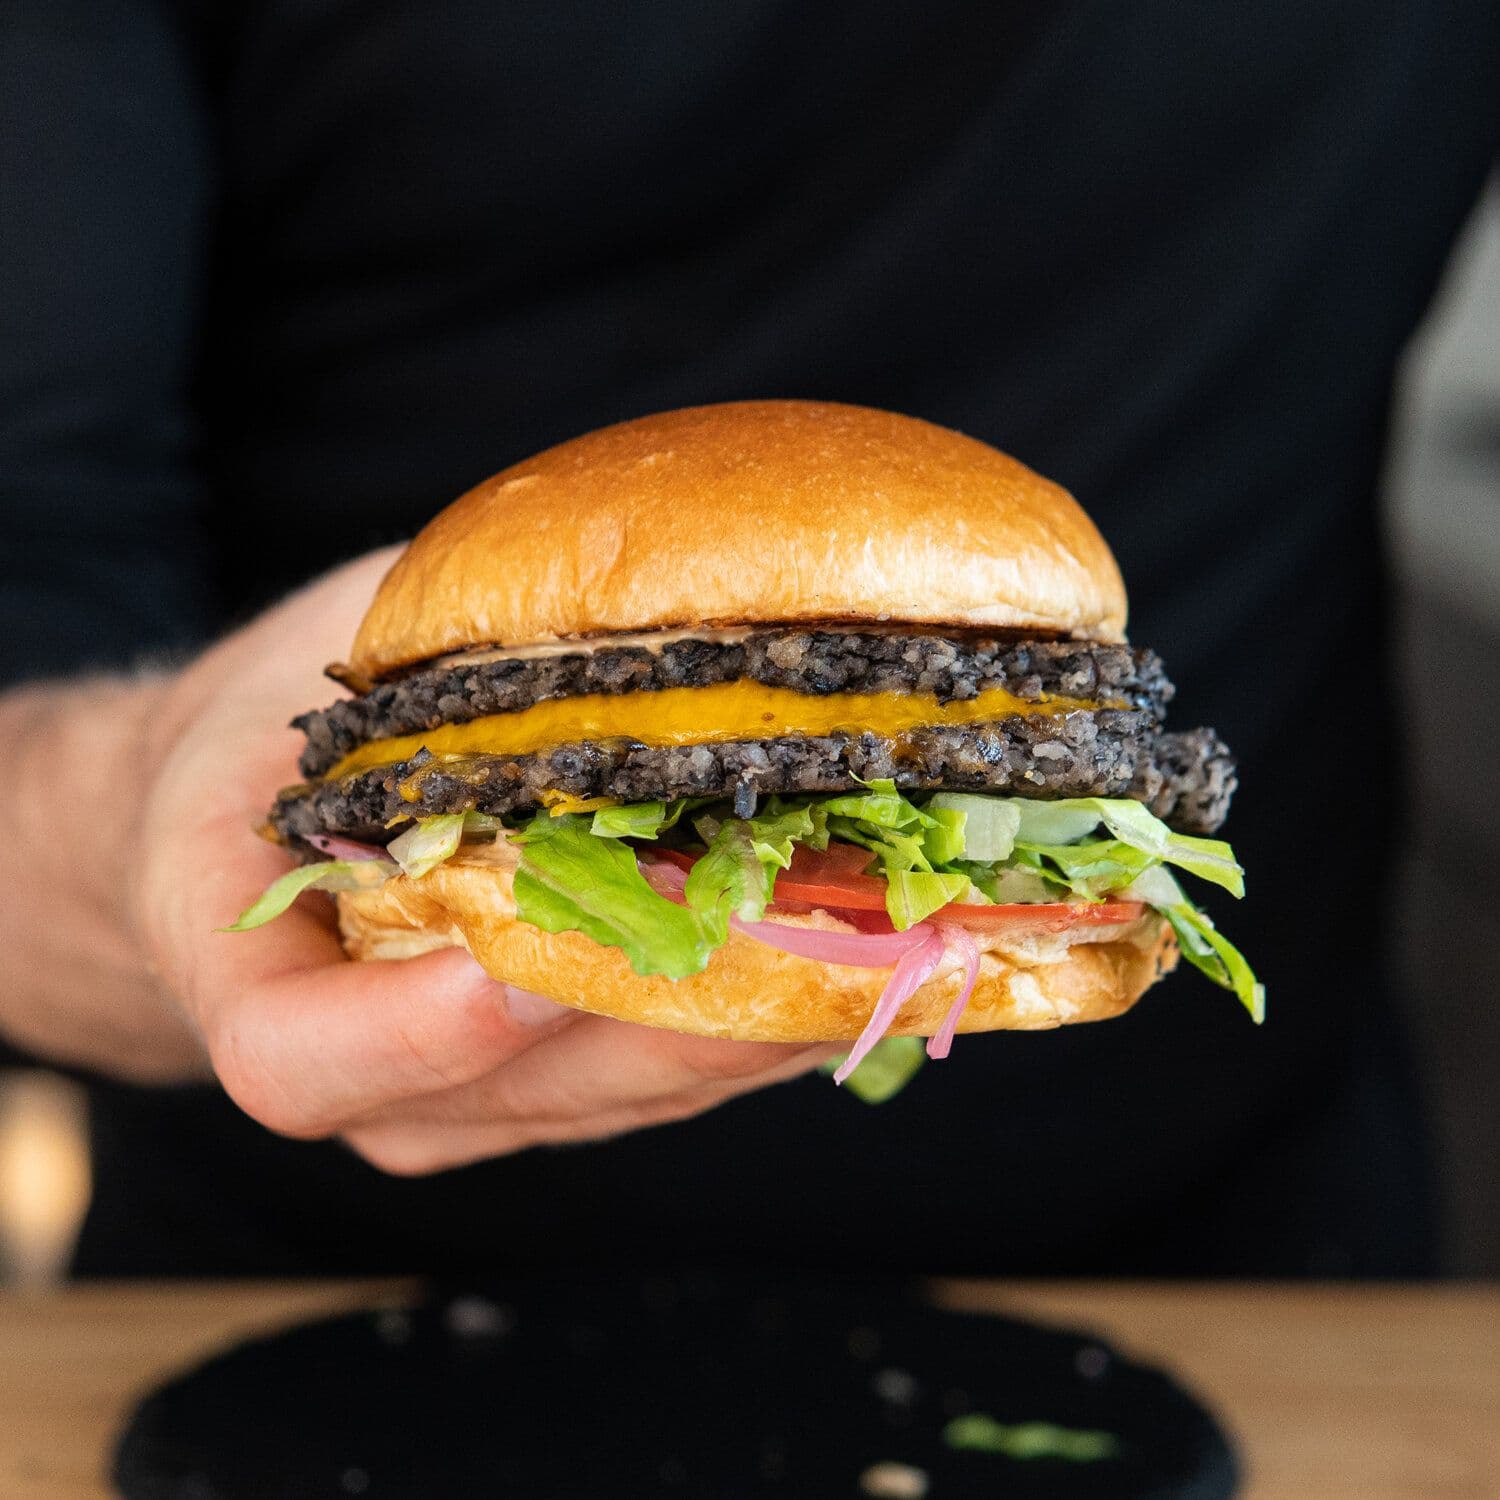
Use for burgers or other sandwiches. Enjoy.
FAQ
Also Appears In


Free Spice Guide
Join The Mouthful Newsletter to receive our essential spices list pdf.
Just subscribe to our weekly newsletter where 60,000+ readers get lifestyle protocols, recipe frameworks, Q&A from expert home cooks, and cooking trends explained.
We hate spam too. Unsubscribe anytime.